74 abigail coloring page
abigail coloring page

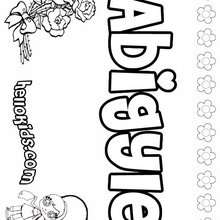
Abigail coloring pages - Hellokids.com 0
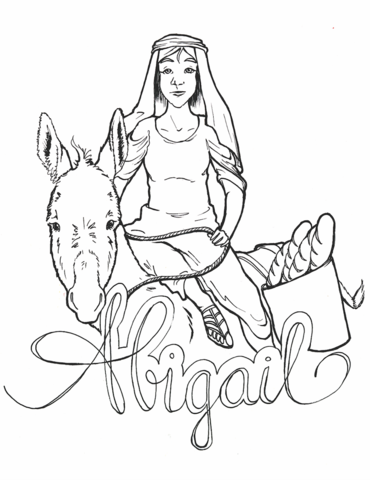
This coloring page is a great way to teach kids about how Abigail was a true superhero. Use this FREE Abigail Coloring Page in your Children's Ministry this year! This FREE Abigail Coloring Page is a great resource to have when you are teaching kids the story of Abigail, … 1
Abigail coloring pages are a fun way for kids of all ages to develop creativity, focus, motor skills and color recognition. Popular Popular Popular Bluey Ren And Stimpy … 2

Pin on Catholic Coloring Pages for Kids 3
Abigaíl: origen y significado del nombre para niña Abigaíl 4
Coloriage du prénom Abigail : à Imprimer ou Télécharger facilement 5
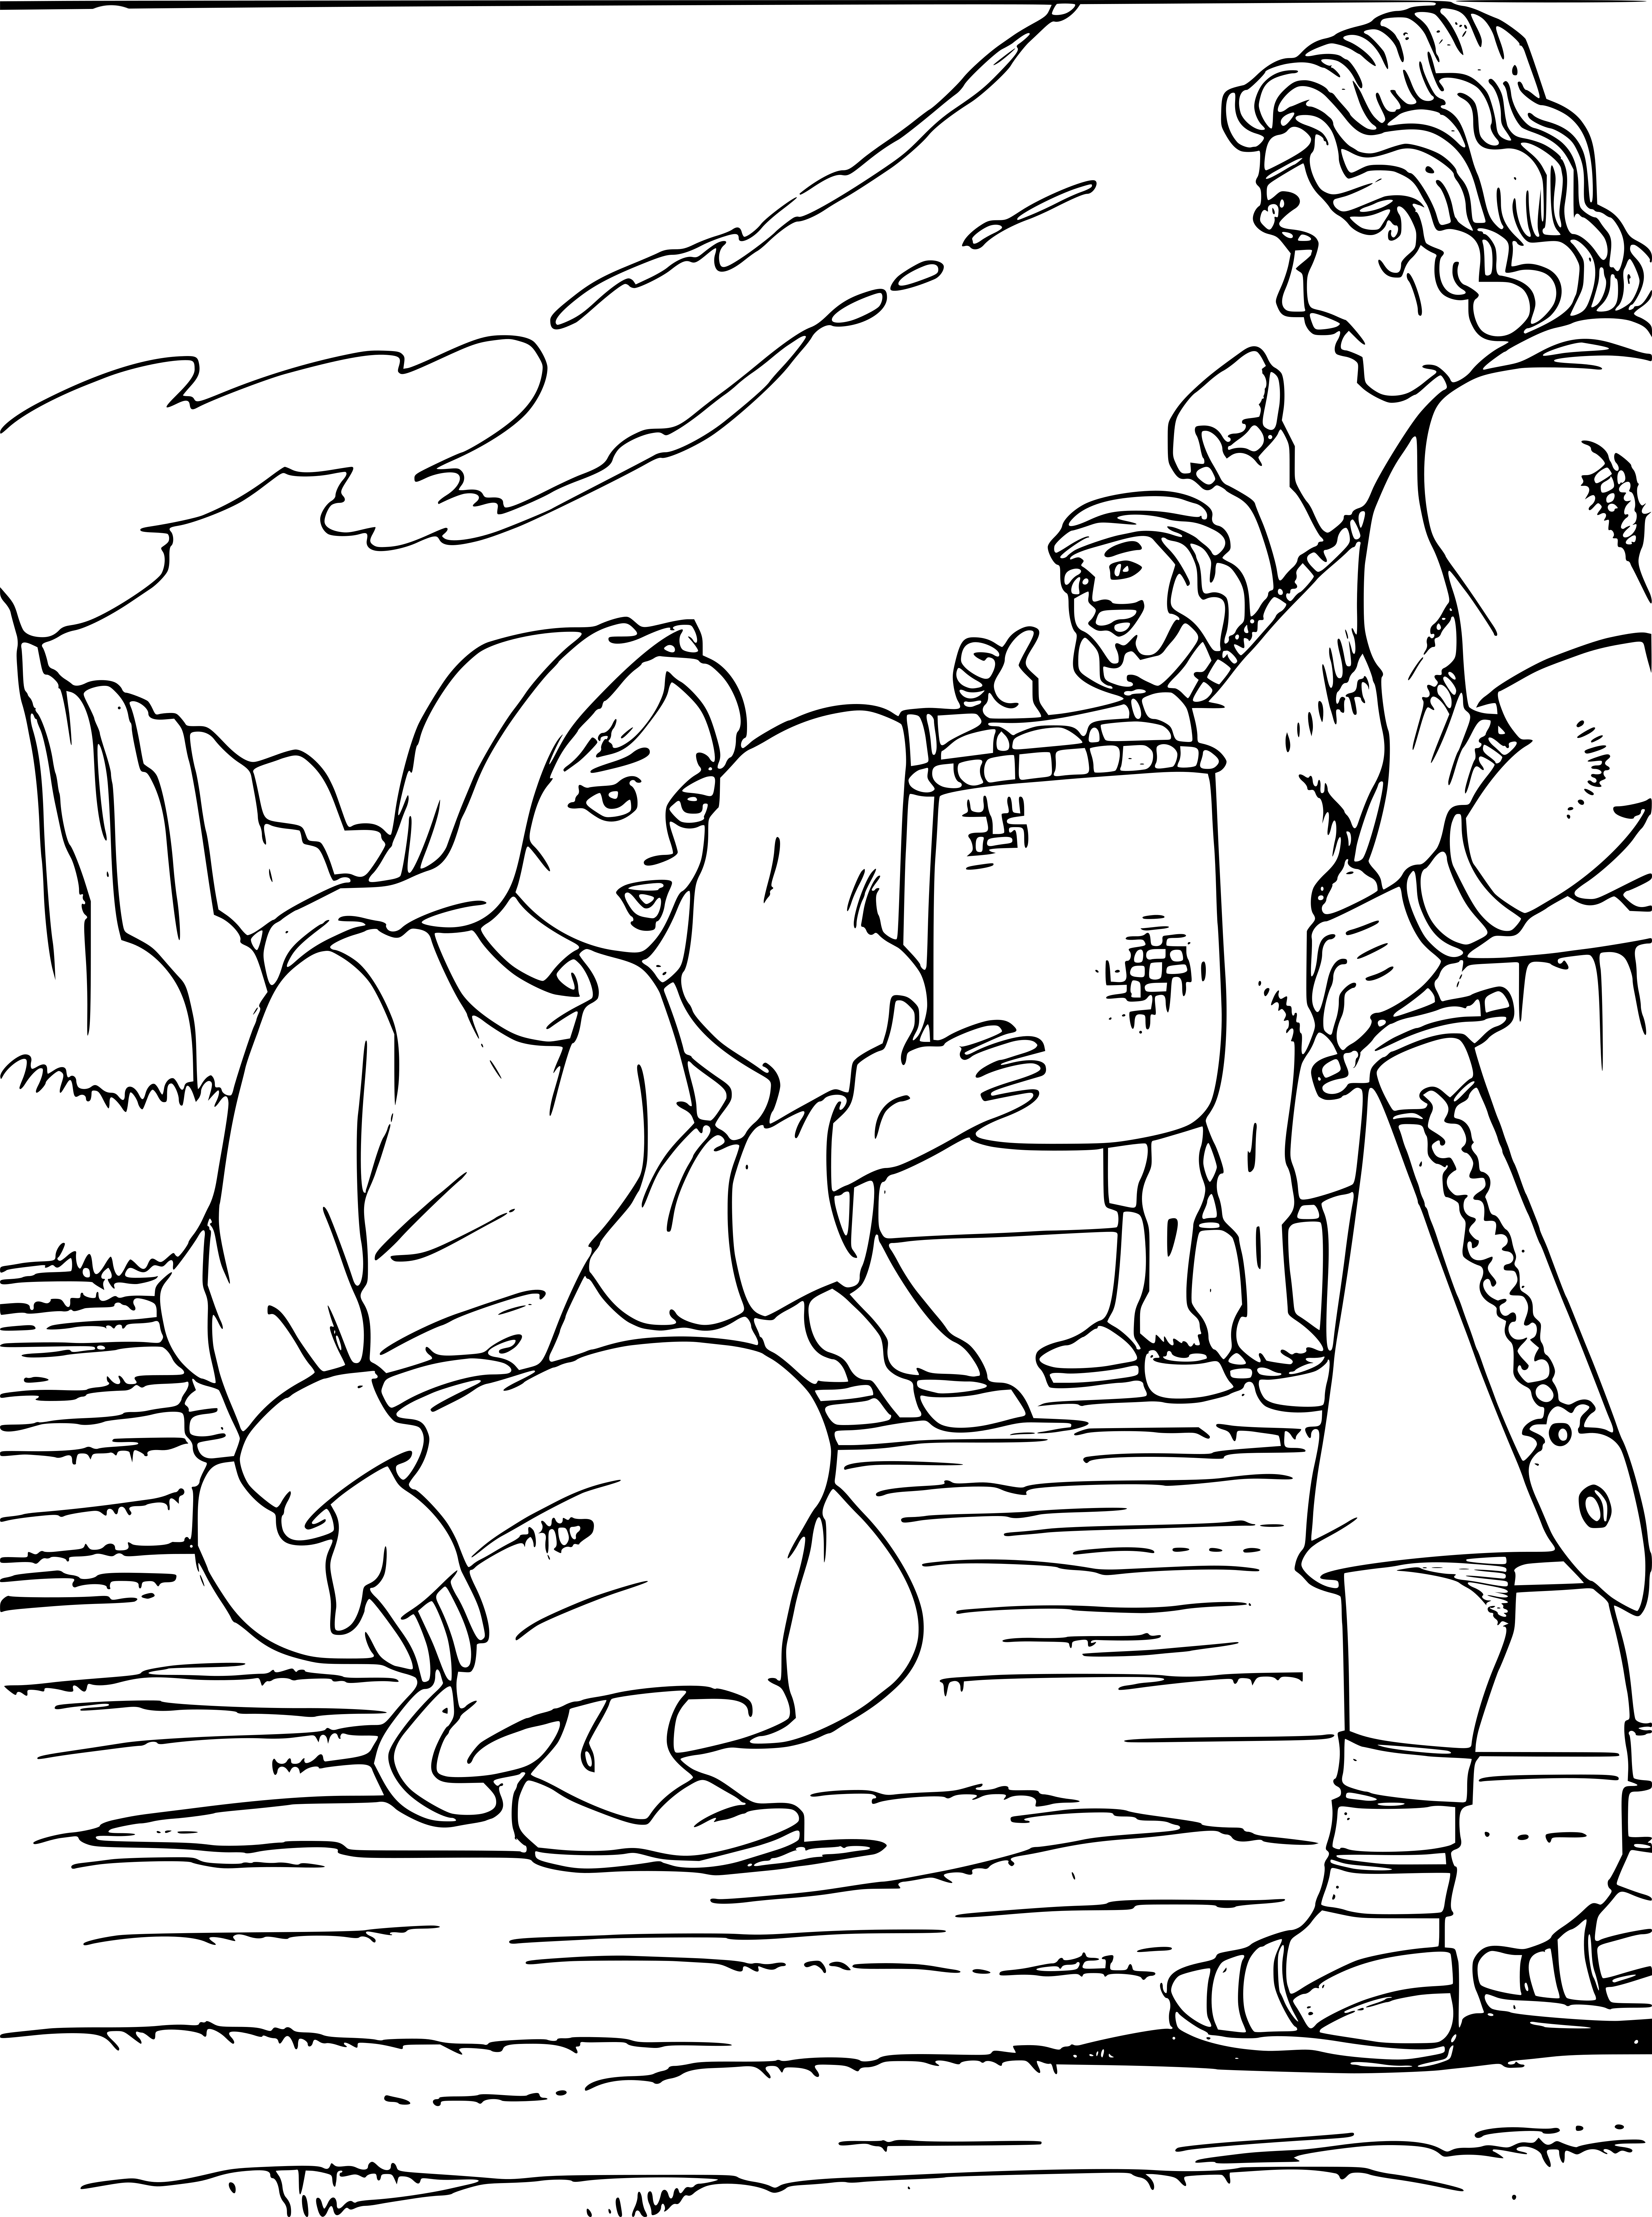
Bible Coloring Picture Of Abigail Coloring Pages 6

PRINCESS ABIGAIL | Princess coloring pages, Coloring pages, Name coloring pages 7

Disegno di Abigail Adams da colorare | Disegni da colorare e stampare gratis 8

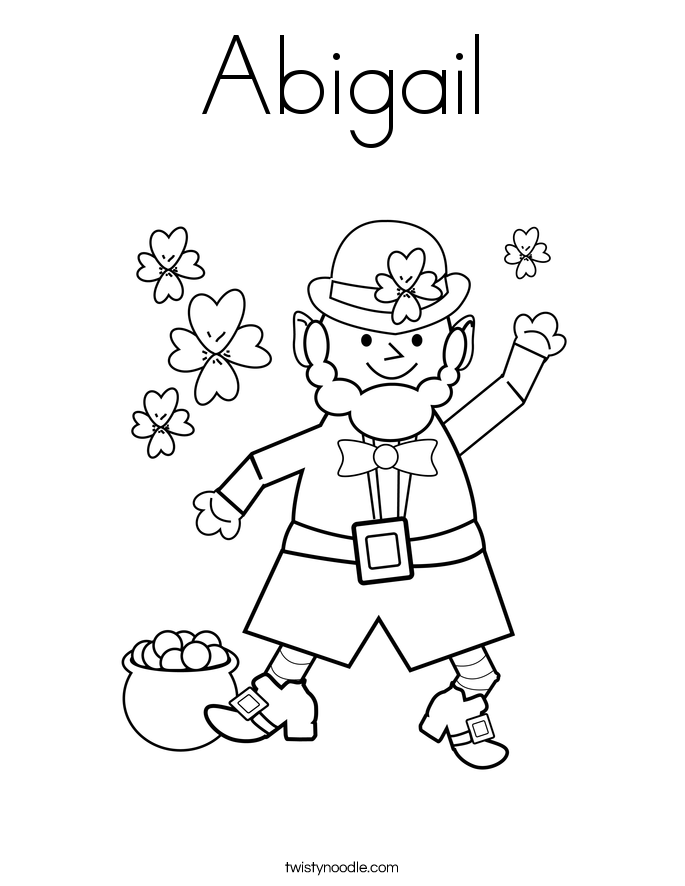
Abigail Name Coloring Sheet Coloring Pages 9
301 Moved Permanently 10
Printable Abigail Coloring Pages - Hobbies ~ Creativity 11
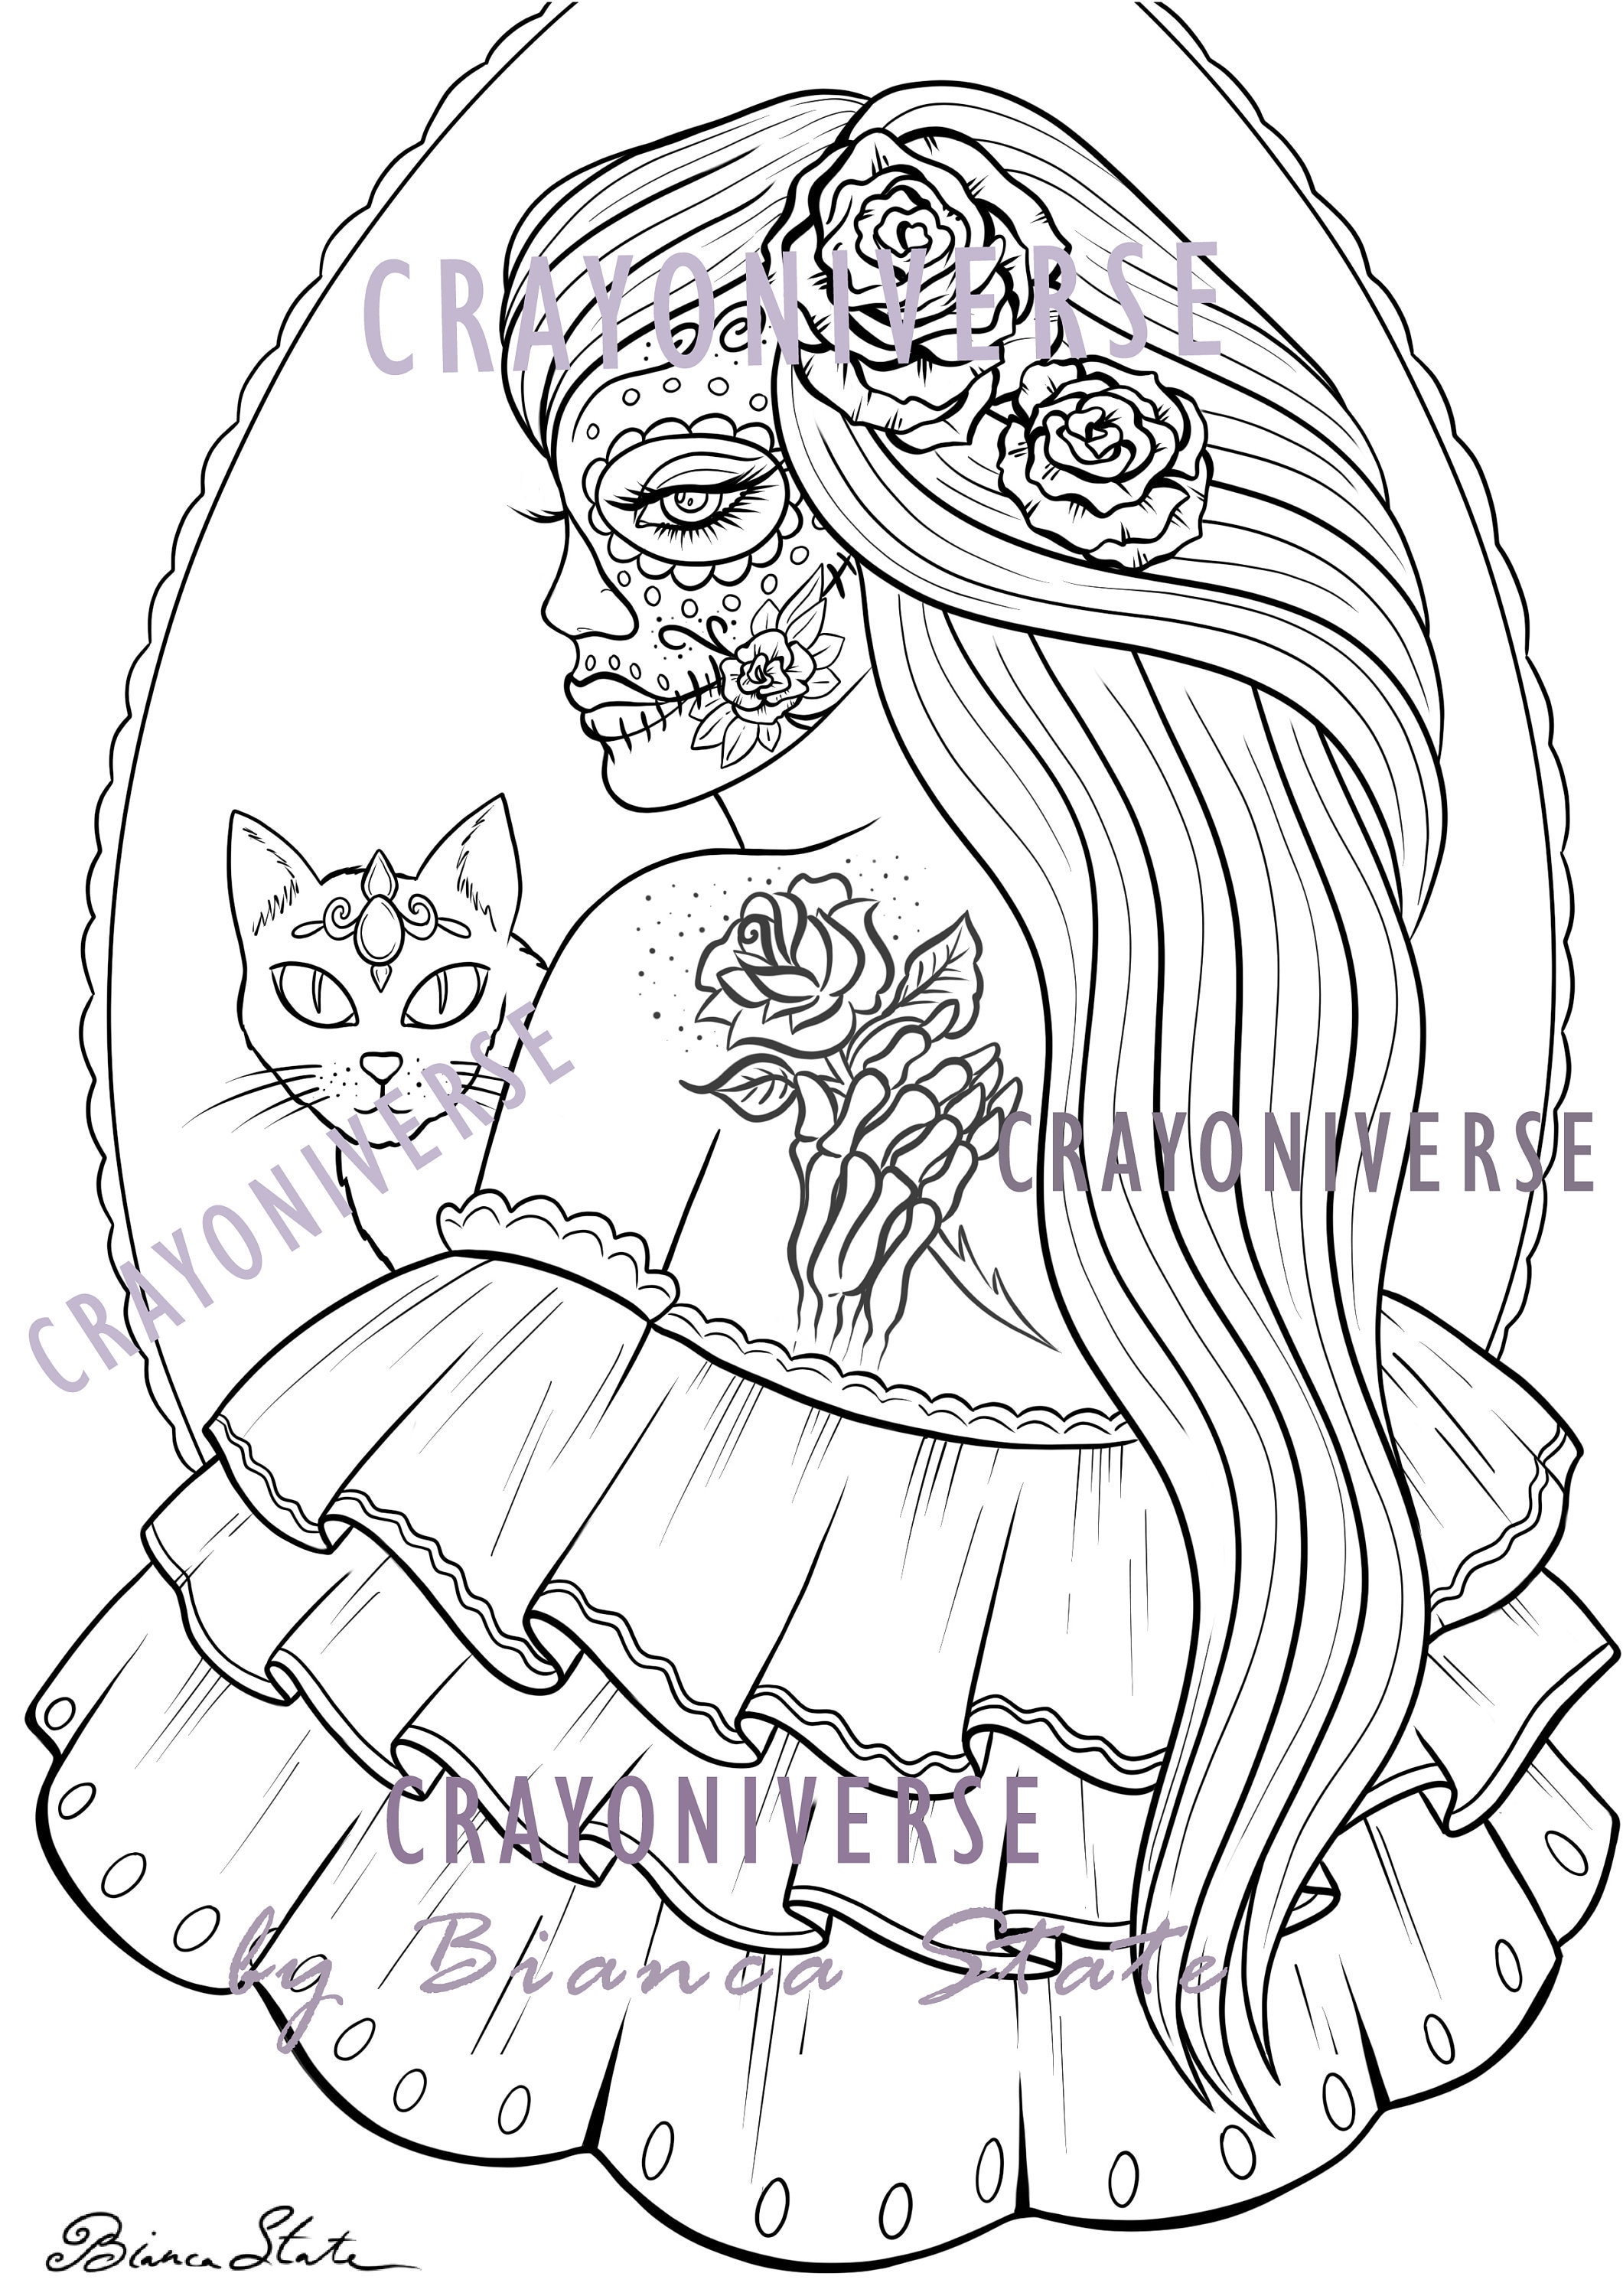
Abigail Lineart coloring page PDF and JPG by Bianca State | Etsy 12

Abigail In The Bible Coloring Pages - Coloring Pages Ideas 13
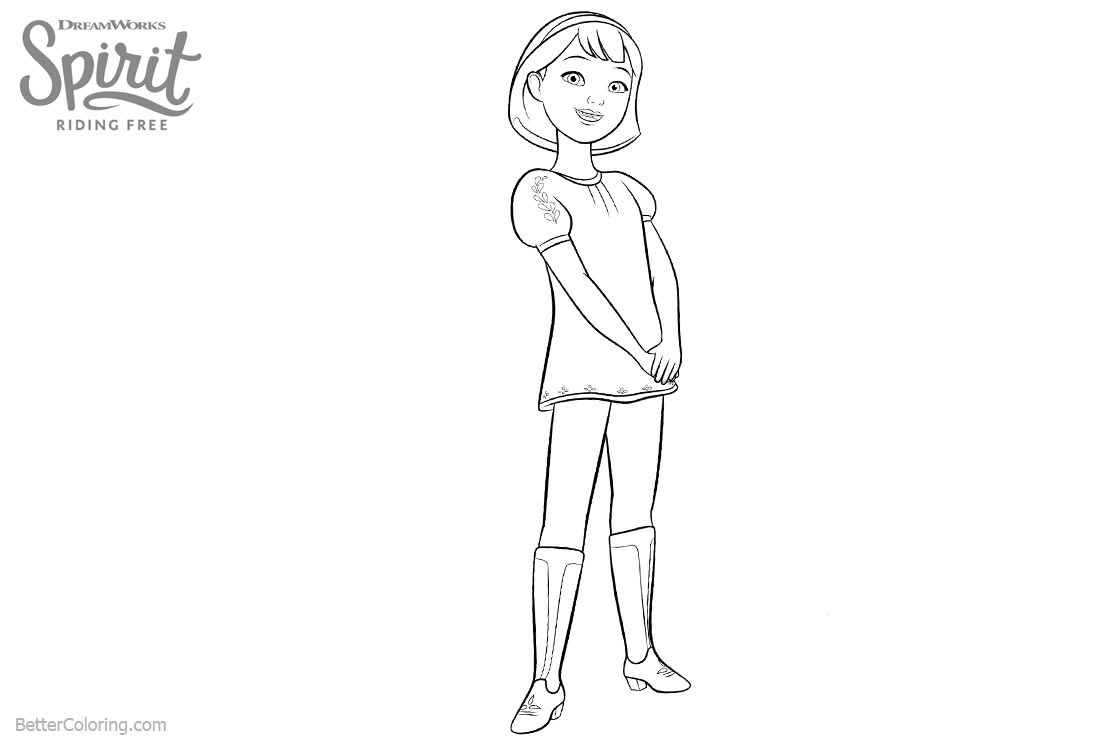
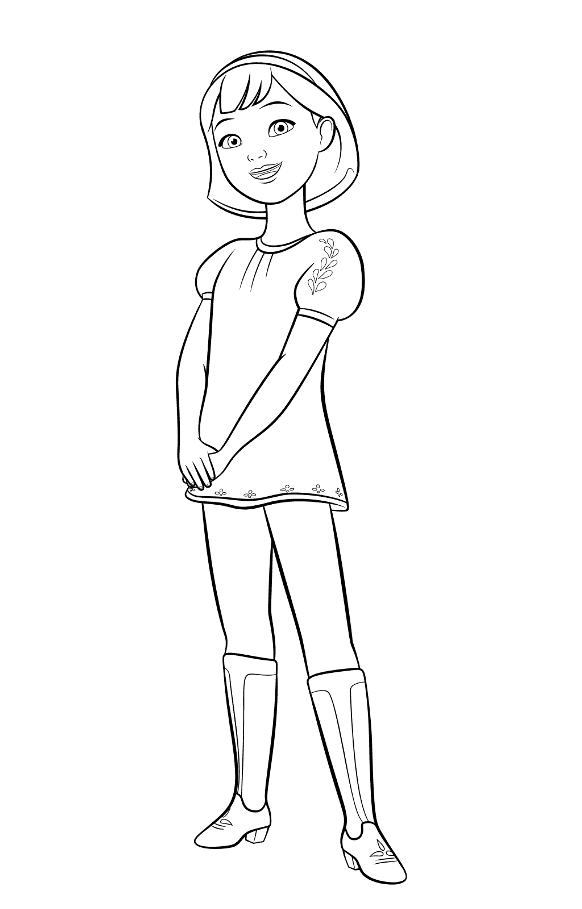
Abigail from Spirit Riding Free Coloring Pages - Free Printable Coloring Pages 14
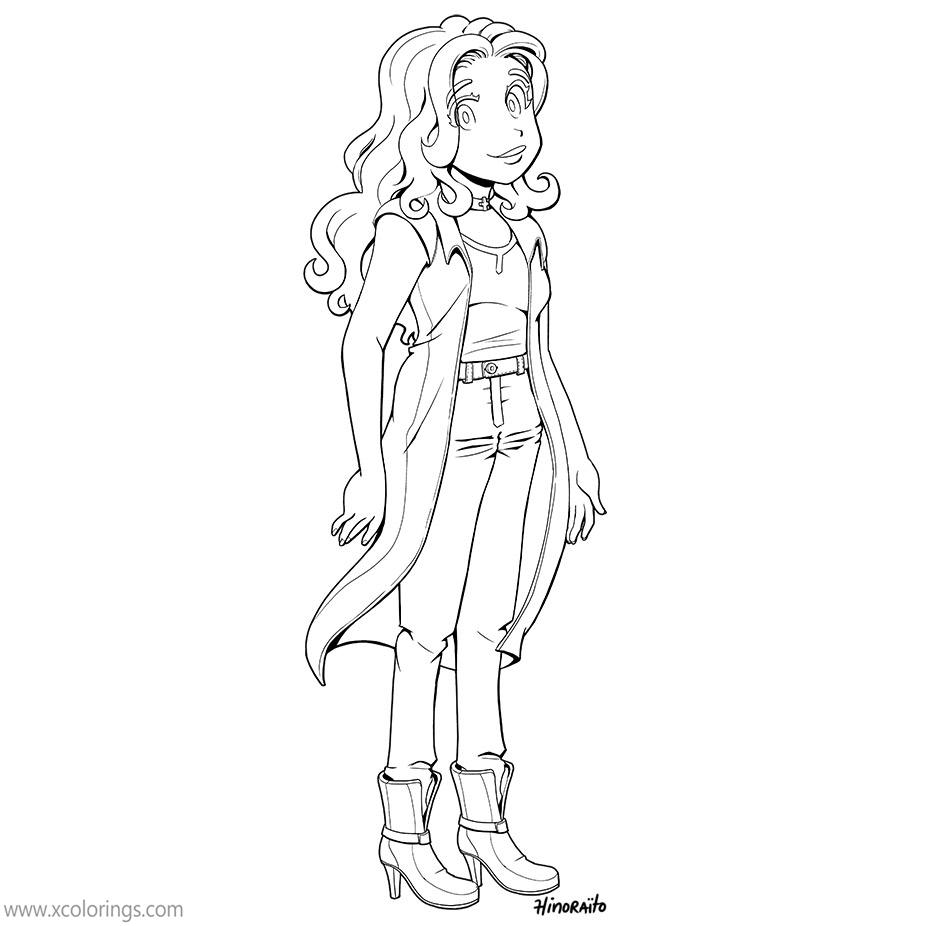
Stardew Valley Coloring Pages Abigail by hinoraito - XColorings.com 15

David and Abigail | Super Coloring | Библейские истории, Воскресная школа, Давид 16
Women's History Month » Coloring Pages » Surfnetkids 17
Luxury Abigail In the Bible Coloring Pages | Top Free Printable Coloring Pages for All 18

Abigail Coloring Page – Children's Ministry Deals 19
18 Abigail Coloring Pages - Printable Coloring Pages 20
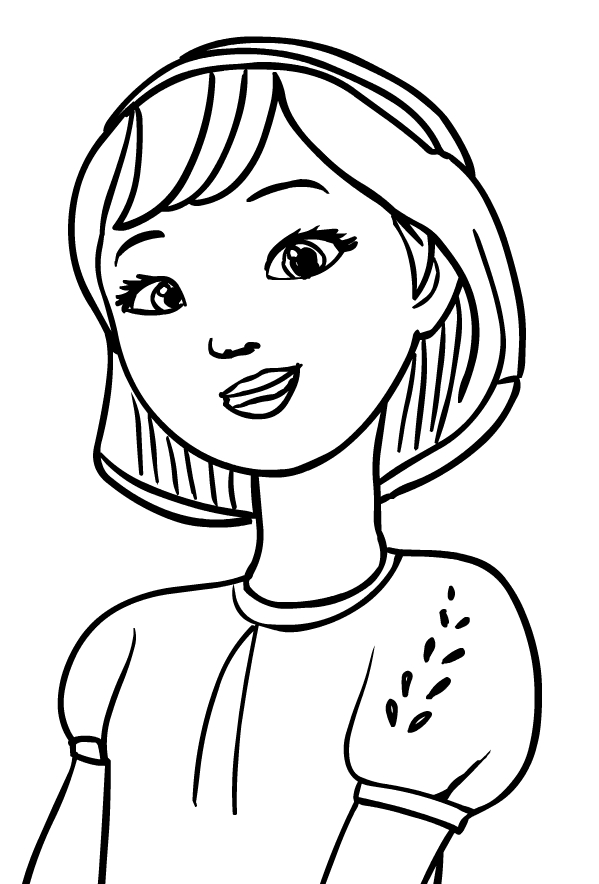
Drawing of Abigail Stone (face) di Spirit Riding Free coloring page 21

Abigail In The Bible Coloring Pages - Coloring Pages Ideas 22

Unique Abigail In the Bible Coloring Pages | Thousand of the Best printable coloring pages for kids! 23
15 Printable Spirit Riding Free Coloring Pages 24
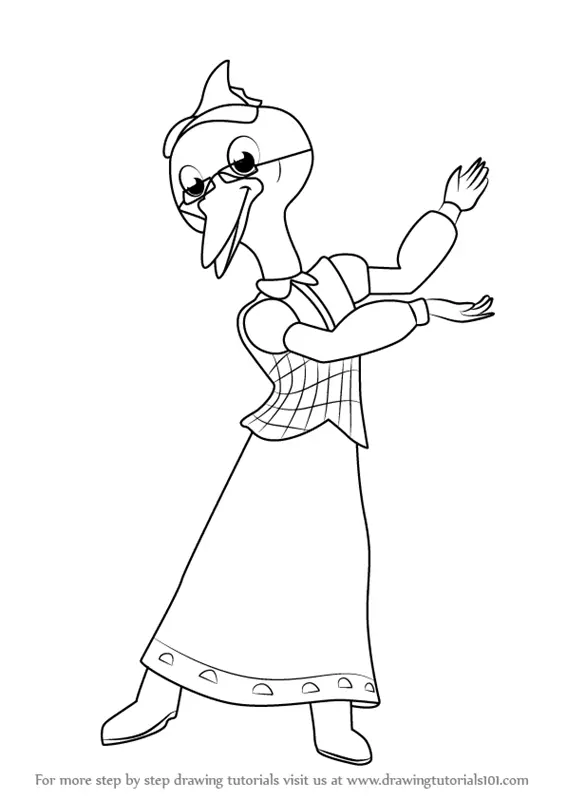
Learn How to Draw Abigail from Sheriff Callie's Wild West (Sheriff Callie's Wild West) Step by 25

Mostly Paper Dolls Too!: September 2016 26

Abigail Breslin Coloring Page | Online Coloring 27

Abigail Coloring Page 28

Look to Him and be Radiant: St. Ambrose and St. Abigail Coloring Pages 29

Drawing of Abigail Stone di Spirit Riding Free coloring page 30

Abigail coloring pages - Hellokids.com 31
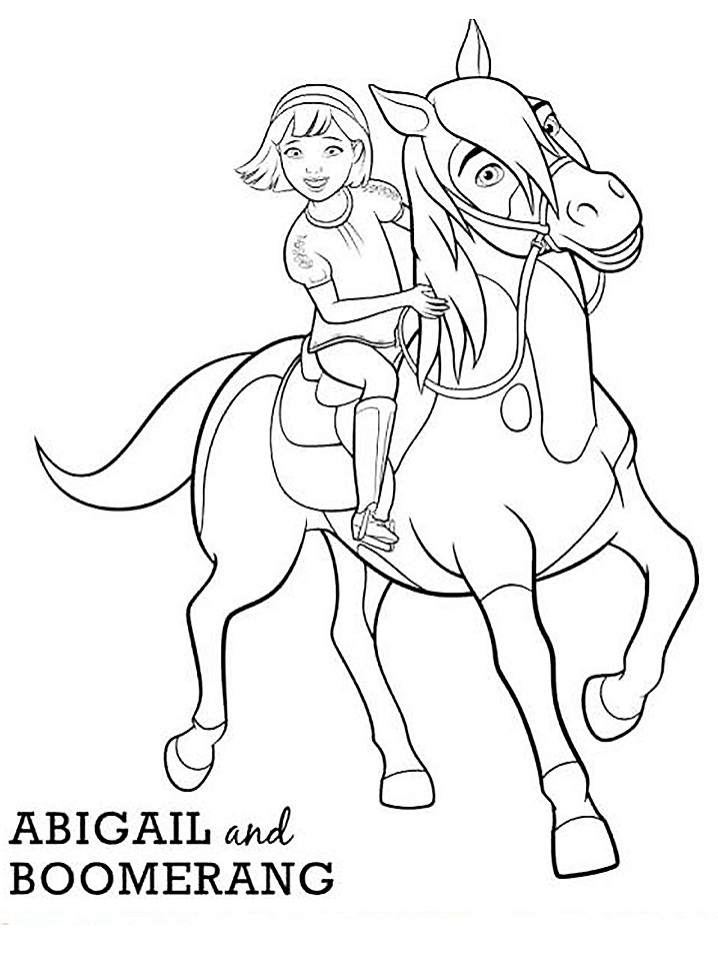
Abigail and Boomerang Coloring Page - Free Printable Coloring Pages for Kids 32

Abigail Adams Clip Art, Coloring Page, or Mini-Poster | Coloring pages, Clip art, Art 33
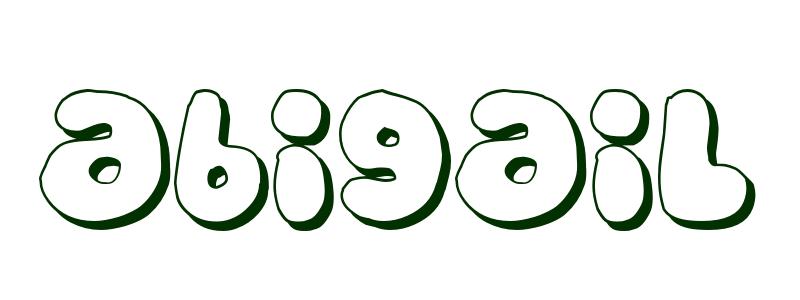
Coloring Page First Name Abigail 34
hello friends i'm heidi with onigo, stamping and welcome back to my craft, corner i am so excited that you guys are, joining me tonight if you are here and, watching live go ahead and leave me a, comment let me know where you're, watching from uh let me know if you got, big plans for the weekend it's friday, night normally i am live on thursday, night but for the whole month of august, i've had a bunch of things come up on, thursday nights so for august we're, gonna do friday night live instead of, thursday night live so i'm excited that, you are here and watching and if you're, watching the replay a special welcome to, you as well go ahead and leave a comment, let me know that you're watching the, replay later i always love uh that, people watch later on too so, i am really excited for today's video, because i am going to share with you, some coloring techniques now you all, know that i love the stampin blends, alcohol markers they are amazing hi, carol sue they are so perfect for doing, um coloring and shading and they are, just, they're the mom but, let's be honest they're kind of pricey, right they come in two packs for nine, dollars each and if you want to get four, five six eight ten colors, it's gonna add up pretty fast right so, tonight i have some coloring ideas for, you using a couple of products that are, a little bit uh cheaper to get a whole, bunch of colors all at once, hello karen good evening and happy, friday to you too so i'm gonna go ahead, and turn, my cameras around and we'll go ahead and, get started let me know if there are any, sound problems, so i can fix those, all right so the stamp set i'm going to, be using is the blessings of home stamp, set but really i'm just using this for, the sentiments because, the star of the show is going to be the, abigail rose pattern paper now this, comes in 12 by 12 but i just have some, little uh, i don't know four by six inch piece, uh, sample pieces of it and you can see it, has all these different florals on one, side some beautiful different florals in, white and vanilla, and soft suede and a little bit of black, in there too and then, on the other side, you get the patterns right some just, beautiful patterns um with a little bit, of petal pink in there as well and some, gray i love this one that looks like, a ledger sheet and we're gonna use some, of that tonight so, those this is gonna be what we're using, really, to make these beautiful cards now i do, want to start out i want to show you the, card that i made, with the uh stampin blends alcohol, markers normally i wait until the very, end to show you the extra card but i, want to show this to you tonight so, first so that you can see, what that coloring looks like with the, stamp and blends so there is with the, blends and i colored right, on the pattern paper, so pretty and cut it out, and that's with the blends now, we're gonna grab a different piece i'm, going to start with this piece this one, has i love how this is you know, primarily soft suede and then it has, those white tulips on there but it's, even prettier when the tulips aren't, white so the first thing that i am going, to use is the soft pastels assortment, this is a really nice assortment of, pastels there are eight different colors, in here you get some yellows red purple, some greens and some blues so, uh and it does tell you, on here, what colors they are right so coastal, cabana and daffodil delay and gorgeous, grape green apple green mango melody, mossy meadow night of navy and poppy, parade it's in really really tiny print, but it is on there i'm going to start, with the daffodil delight one, and all i'm going to do, is i'm going to color, on these flowers now i'm not going to, really worry about getting this too, perfect, i just want to lay down some base color, so just trying to stay in the flower, area, but honestly these don't have a tip, they're not like a pencil you're not, going to get like perfect, perfect coverage on them, right so we're just going to color, on these, tulips make some yellow tulips, and you see this is a tool up here, this is a tulip down here, here's another one, so again just coloring just putting down, some yellow some daffodil delight on, here, and, we're gonna make this look prettier in, just a minute, all right i think i got, all the flower pieces oh just a little, bit down here all right so there is all, our yellow now i'm going to come in with, a blender pen all right this is not the, stampin blends it's different there is, like, i don't even know what it is it's like a, mixture of glycerin or something in here, um and it just, it makes it a little bit wet, without making it really really wet and, we're just to come in and we are going, to, pull in this soft pastel, and just grab the color that is, already there that we put down and we're, just going to move it i'm going to get, it just a little bit wet with the, blender pen and then move it into, the right areas, so this is where, we're going to add in, that color this is how we get all the, way to the edges and get it get it nicer, looking right than just the scribbling, we started with, now if i want to, i can come in and i'll just, pick up some more color, from, the pastel itself, and i can do a little bit extra shading, with that, and just like any type of coloring this, takes this takes a minute right, because that's what coloring does it, takes a minute, so, so just picking up some of that extra, pastel oh you guys can see me i'll pull, that down just a little bit further so, i'm just swiping that in the chalk just, like that, and then coloring, in the area that i want extra color, hi latisha welcome, all right and then we can move on to the, other one now i might, i might not color this whole thing, because this is going to take me a while, just to do all this coloring we'll look, at the rest of the card and then, we'll talk about how it's put together, maybe, so that's just going to add some really, nice, yellow in there, and again i can come back, pick up a little more color, add a little, more shading, around the edges, maybe in the center now when i want to, switch color all i need to do is i can, just wipe this, on a piece of scrap paper, and i turn it around get all the yellow, out i know that doesn't really show up, very well but there is yellow marks on, the paper and i'm going to grab my, granny apple green, and we can do the same thing so i can, come in here with my granny apple green, and i'll just put it, on the leaves, again just you know coloring broadly, i'm not even going to do them all we'll, just show you that, so then i just come in again, and we'll push that around now i've, already picked it up not quite enough, yet so it does take a bit to kind of, pick up, pick up enough of that color but once, you do and i might come over here and, just grab, grab some off the chalk, because eventually you can just color, with it, pull that into the rest of the stem, you can come over here and do the same, thing, and again this just takes time to get it, all, doing what you want right, now you can also if you want to you can, take your soft pastel another way to do, it you can take it and you can scribble, some, get a nice heavy scribble on your, scrap paper and then come in and it's, kind of dusty and you can pick up that, dust, and then color with that too, so just another way of using, those soft pastels, and again i think we're not we're not, going to color this whole thing i want, to show you the rest of the card and, then i'll show you the finished card so, you can see you can see what we end up, with now i'm just going to wipe this my, blender pen out again, and get all that extra, green off of there, i'm even some yellow still stuck in, there, all right, so i'm gonna set that aside, let me show you so i have a piece of, i have a piece of that uh designer, series paper and this is the one that, has like that ledger on it and i'm gonna, grab the thank you from the blessings of, home, and some soft suede ink, and i'm just going to stamp this right, on here, so there's my thank you, and then i'm actually going to use, the blossoming happiness dies, yeah you have to get the you're gonna, have to get the soft pastels they are, kind of fun, and i just want to use this one that it, looks like um, like a notebook like you tore it out of, a notebook, so i'm gonna grab let me see, well, we'll grab my mini because we could do, this with the mini, all right if i have i got to find my, other plate, all right so i just have a one plate and, then a two plate, we'll put that on there, and then i'm just gonna stick this now, this does have a line you want the line, that's gonna cut so you want that at the, top where you want your top edge, so i'm just gonna put that on here like, this and grab my second plate, and, gotta reach down and grab, my mini cutting emboss machine, make sure i get my plates all lined up, and we'll push that through, soup, where do i get the magnetic sheets for, my dies, the ones that i get are actually uh, vent covers and i get them from like the, hardware store, and i just cut them up into pieces, to uh, to use for my dies so, it works really well, right now i have a whole bunch of washi, on there and so they're not even, sticking, but i like it because then they're not, like just loose, in the in the folder so, everyone has their own preferred method, of storage you know, all right so now i just have that little, bit of edge and i just like to take this, and just, kind of rough it up so it's like you, tore it out of something out of your, notebook, and then i have a piece of soft suede, this is eight and a half by five and a, half and i scored it at four and a, quarter, and we'll just take this and fold it in, half, and then i have another piece of that, ledger style paper, and we're going to adhere this to the, front, so just like this, oh so pretty, and then i'm gonna take i have another, piece of, soft suede, and i'm going to put this one at an, angle just to give it a little bit of, a little bit of something so i'll just, put that on there at an angle, and then i'm going to add the piece that, i colored now i'll have to come back, later and finish up that finish going, over it with my, blender pen but just to show you how, this is going to go together, we'll put this piece on, it's just going to be kind of straight, there we go, and then our little thank you is going, to go up towards the top, and of course i'm probably going to, cover up the flowers that i actually, colored isn't that always the way, so that's just going to go right up, there now i have some of the soft, woven ribbon i love this ribbon y'all it, is my it is my favorite we used to have, this a couple years ago it was my, favorite then it's still my favorite now, i love it, and i'm just cutting a little piece just, a little piece like that and i'm folding, it in half now i'm going to grab my gold, cord from the simply elegant trim, and, just gonna fake a bow to see how long, that cut this, so about maybe that long, just trim that off now the first thing, that i like to do is i take this i just, run it through get it straight a little, bit run it through my finger, my fingernail and my finger, and then i like to fray, one side just a little bit and there, will come out, a little piece of thread in there let me, hold this up see if i can get you to see, it so there's a little piece of thread, in there and if you take it out it's, going to make this cord a lot less stiff, so i just like to take that out, and then i even like to come in and just, take out like one, one more strand, this cord is probably perfect for doing, packages, um, but for tying bows, it's just a little bit too thick and, stiff, and this will help get it a little bit, thinner and a little bit more pliable, so i just took that out of there now i, can take this and i'm going to just tie, this, around, my little piece of, ribbon, i get this in the right spot because i, do this is kind of a trixie just because, i'm trying to get it really small, there we go, i'll tie a little tiny bow i know you, guys probably can't even see this, because my, fat fingers are in the way, so all right, that bow is like sideways let's see if, we can fix it, let's see, i'm just going to make it smaller, just try to get it try to get it to, behave itself it's a little bit, it's not the best bow but we're gonna go, with it for tonight, all right so i'm just gonna make this, very small, if i can, just trying to hold it open as i, pull it, all right there we go, so a very very tiny bow i'm going to cut, those ends off, and then, we're going to take this and just, put it up here you know what i put i'm, going to put it over here on this one, well no we're still going to do it over, here, so i'm going to go ahead and just trim, up the edges of this too, this is kind of hard to see, this white paper, all right so now i have my, mini glue dots pull out the mini glue, dots, and i'm just going to grab a mini glue, dot, and we, will adhere this right at the top, so it just it looks like it's tied on, there but really i just glued it on with, some mini glue dots, and then i can you know fluff these out, a little bit i can take my, take your pick tool and if you take your, pick, pick tool and you stick it in, the middle of this cord you can, fray it really easy, it'll just come apart, and i love the way the ends look when, they're all frayed, so just like that let me show you the, sample that is completely done, all colored, and i did this one the sample card i did, come in with a stamp and blend and just, do the centers in in brown and soft, suede i'm not even sure i like it so, anyway that's what it ends up looking, like eventually is after you've done all, that coloring, so really fun let me show you i have, another another card for you tonight, we're doing two tonight, we'll see how far we get on this one we, might skip ahead to the end too, this one has a lot of coloring on it all, right, so i have a piece of, the abigail rose paper, not pretty oh it's so pretty i know this, is probably hard to see, it's just gorgeous, and then for this i'm going to use the, watercolor pencils so i have both the, watercolor pencils assortment 2, and i don't know if i if i even like, sorted these properly last time i think, i just shoved them in, so we're just gonna pull them out all, right there we go, and i have the watercolor pencils, they're all the same, so and i just didn't i don't think i i, don't think i kept them separated, properly i'm gonna start with the, daffodil delight so we stay with the, same colors now with the color pencils, i'm just gonna color on the um kind of, like on the cheat lines right where more, of, the shading would be so we'll just color, around, the edges, and i'm pressing pretty hard i want to, get some nice, some nice dark color, here, and again your coloring doesn't have to, be perfect, let's come in here, put a little bit on each petal, and color over here too, oh while i'm doing this y'all, celebration is winding up we only got, about two more weeks of celebration, which is uh sad to see those go don't, forget there are additional catalog, items that are now available as, celebration rewards, so uh there's lots of stuff out there a, couple items have sold out the, tree lot dies, and the note cards um but otherwise, everything's available so all right then, i'm just gonna lightly color kind of the, rest of it so i'm just gonna quickly, give it a light, a light bit of color, and we're just going to start with this, one flower, so then i'm going to come in with my, blender pen again, because blender pens are awesome, and i'm just going to go over this, and this is going to make that color, just get really vibrant and spread it, out, take out all those little pencil lines, and just make it really pretty, i really do i love the watercolor, pencils they're so easy to color with, they're great for kids too if you're, doing crafting with your kids or your, grandkids maybe, the watercolor pencils are really great, for them they love it, yeah they love seeing that, transformation it's almost like, um the paint with water books right, except they could color it themselves, so, just adding that all in there i may even, put a little bit too much color down the, first time, so, get some nice rosy color and then we can, come back if we want, we can add a little bit more, in to get a little more shading and you, can go back over that again, just to kind of add in a little bit, darker shading, so that yeah and then we could come in, let me see somewhere in here i have some, greens, let's do the granny apple green again so, i can come in and color on these leaves, and again just doing some dark and then, go over it just a little bit of light, light pressure, and then we can come in again we can, wipe out, the blender pen on a piece of scrap, paper and then just come in again, and get that watercolor pencil and get, it blended out, and make it just look gorgeous, and if i want i can come back in, and add down a little bit more color, pull that out again, so just like that with those watercolor, pencils isn't that fun, i'm going to hold that up see if you can, see a little bit better, but it really does give a beautiful, beautiful look and super easy to use, now what i would what i would do with, this is i'm gonna, i'm gonna fussy cut it, um and i might just i might pop ahead, and just show you the finished project, but just to show you what i did is i, just came in and i fussy cut this around, after i had colored the whole thing, and i just trimmed it very very close, but i do leave just a little border, and our paper snips are so good for this, because they're super sharp, and they have a little tiny point and, they're sharp all the way to the point, so they are perfect for doing fussy, cutting, and of course i generally turn the paper, more than i turn the scissors, because that's just going to give you a, smoother cut line, and you don't want to go too fast you, know take your time, i feel like fussy cutting is one of, those things some people absolutely love, it and some people, hate it so tell me about you do you love, fussy cutting or do you hate fuzzy, cutting, and i'm just gonna stop right there i'm, gonna just stop right there but i would, go all the way around and fussy cut this, whole thing out, and then, again i, have a piece of that beautiful ledger, paper the pattern paper and i would just, adhere this, in one corner okay so i'm just gonna i, would come in here and i would adhere it, to that corner i'll go ahead and do this, let's do this, so, let's see i'm just gonna do, this bit right here, so i'm just trying to see you know, how far down should i put the glue on, i'm gonna just put a little bit of glue, there, and then this, just comes in here and we just adhere, that down, and of course this would already be, colored, and then i come in with my scissors, and i'll just cut this off, just turn it over and cut, cut along the edge, just like that, and i would do that in a couple, different corners just to give it a, really fun, fun look so let me show you the finished, card of this, here is the finished card and again you, can see where i colored these flowers, and then i fussy cut them on the edges, and just adhered them to the edges so, they look like they're almost like, stamped right on there, because the colors of the pattern papers, are so similar, but they're not, and then i did a couple extras on this, tag and again, i did that bow again the same ribbons, and everything and i added a little, sentiment on there so really easy to do, just takes a few minutes i don't think, you guys need to watch me do the whole, thing tonight, um but that is those colored pencils and, i just love the colored pencils they're, so so pretty so let me show you all, three cards again, so we can compare them, come here, all right so we have, we have this is the color pencil right, and then we have the soft pastels, and then we have, the stampin blend so you can see three, different ways to do some beautiful, coloring on your cards in a great way, like i said you know stampin blends are, awesome but here's some other ways too, and, with the watercolor pencils and the soft, pastels you get a lot more color choices, um in the box for a lot you know for a, lot less money so it is a great a great, other um another way to color so thank, you guys i am so glad that you love them, oh, love it thank you if you have not, already subscribed to my youtube channel, make sure that you hit that subscribe, button so that you will always know when, i am going live, and of course if you hop over to my, website the blog post is not quite done, i'm working on finishing up right now um, but in just a little while i'm gonna, have a blog post up there and you can, get all the supply lists over there for, these cards too, thank you all again for joining me, tonight and i will see you guys next, tuesday uh for our fabulous fun folds, tuesday, thank you so much karen thanks everyone, i'll see you next week bye
Reddit Images 17
Just finished another page of the coloring book. Page 6… I believe 0
page coloring for ch 171. 1
Konomi coloring by @Shazayumart (chapter 93 cover page) 2
![[No Spoilers] Digitally colored the cover page (not the actual cover of the book itself) of the Life Is Strange coloring book](https://i.redd.it/cdncsa6chuu91.jpg)
[No Spoilers] Digitally colored the cover page (not the actual cover of the book itself) of the Life Is Strange coloring book 3
![[Other] who is this villain on my son’s coloring page? It’s driving me nuts!](https://i.redd.it/ihia4i1szvi91.jpg)
[Other] who is this villain on my son’s coloring page? It’s driving me nuts! 4

First page of the coloring book done! Any thoughts? 5
Randomly coloring one page of my coloring book 6
{Artwork} Finally finished working on the coloring of this mask-less Spider-Gwen. It's about 98% pencils, with 2% of it in gel pen. It's a page from Marvel's WOMEN OF POWER coloring book, w/original art by Emanuela Lupacchino from Spider-Gwen Vol 2 #6 (Cover B Variant). 7
My coloring of the cover page for Ch. 159 8

This took SO many hours and it isn't even technically the first page... Maybe I should have picked something easier for my first time trying adult coloring, but I've always been ambitious. 9
Colored a page in my Horror Coloring Book (with colored pencils)! Available on Amazon + 5 Free Downloadable Coloring Pages 💀 See links in comments, thank you! 10

I TRIED to colour this Melanie Martinez coloring book page.I'll do more of these. 11
I colored an Empires-themed page from the latest Hermits and Friends Coloring Book 12
HEAT 2 - coloring page 13
coloring page! 14
Cool Platinum Age gem - The Story Of Just Kids (McLoughlin Bros. 1932). This is a 20 page mixture of text and prose illustrated in 3 colors. Just Kids was a kid humor strip that ran from 1923 to 1950. It was popular enough to inspire a comic book, a coloring book and a fistful of Big Little Books. 15
,


Comments
Post a Comment