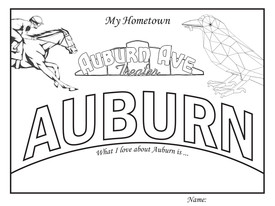
77 auburn coloring page
auburn coloring page
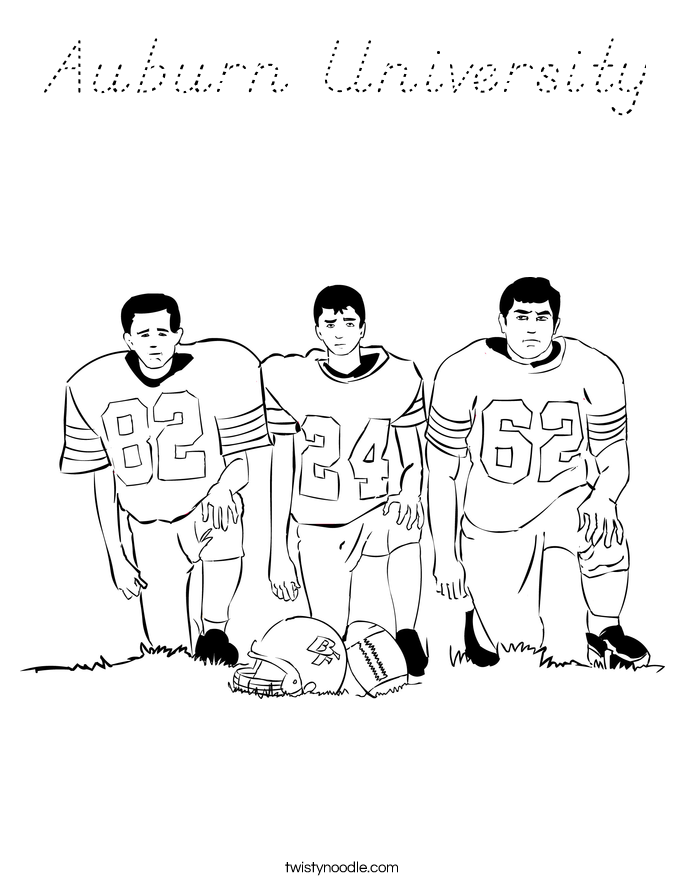
20 Auburn University Coloring Pages - Free Printable Coloring Pages 0

Auburn's Logo Colouring Pages - Coloring Home 1
Alabama Coloring Pages Football at GetDrawings.com | Free for personal use Alabama Coloring 2
Auburn Coloring Pages - Coloring Home 3
Auburn Coloring Pages. 2 ratings. Save. Print Image Download PDF. Finished coloring? Upload your page. Create an account or sign in to upload and share your artwork with our … 4

Auburn Coloring Page. Print This Coloring Page. Login to Add to Favorites. Print This Coloring Page (it'll print full page) Save on Pinterest. Customize Your Coloring Page . Change … 5
Auburn Coloring Pages. 2 ratings. Save. Print Image Download PDF. Finished coloring? Upload your page. Create an account or sign in to upload and share your artwork with our … 6

These original coloring pages depict Auburn Symphony Orchestra musicians. Click an image to download the full size page. 7

Free Auburn Coloring Page 8

Apr 03, 2020 · Coloring Sheet (PDF) Having trouble viewing this document? Install the latest free Adobe Acrobat Reader and use the download link below. 9

Auburn Coloring Pages - Coloring Home 10
Auburn Tigers Football Coloring Pages - Coloring Home 11

Auburn Tigers Football Coloring Pages - Coloring Home 12

Auburn Color - AZ Dibujos para colorear 13
Auburn Coloring Pages - Coloring Home 14

Downloadable Content | Auburn Alumni Association 15
Auburn Coloring Pages at GetColorings.com | Free printable colorings pages to print and color 16
Auburn Logo Coloring Pages Coloring Pages 17

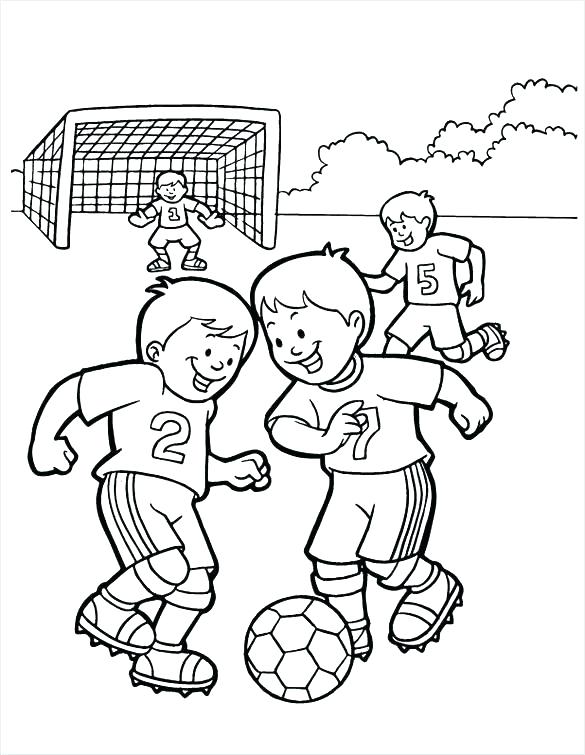
Auburn Football Coloring Pages - NEO Coloring 18

Downloadable Content | Auburn Alumni Association 19
Auburn Coloring Pages at GetColorings.com | Free printable colorings pages to print and color 20
Auburn Coloring Pages at GetColorings.com | Free printable colorings pages to print and color 21
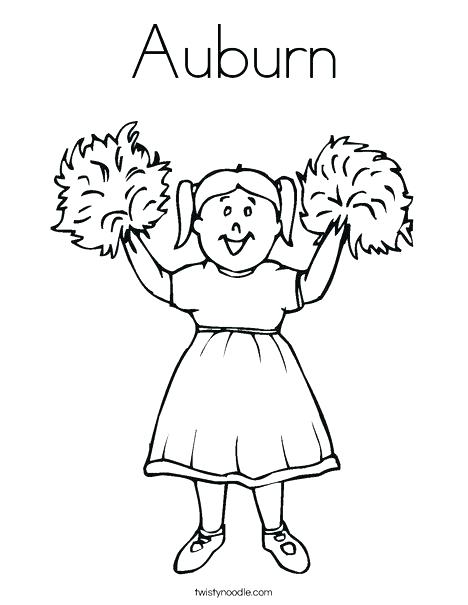
BEAT AUBURN Coloring Page - Twisty Noodle 22
Auburn Coloring Pages at GetColorings.com | Free printable colorings pages to print and color 23
Auburn Tigers Football Coloring Pages - Coloring Home 24
Auburn Coloring Pages at GetColorings.com | Free printable colorings pages to print and color 25

5 Size Auburn Tigers Appliqué Embroidery Designs College 26
Auburn Coloring Pages - Coloring Home 27

20 Auburn University Coloring Pages - Free Printable Coloring Pages 28
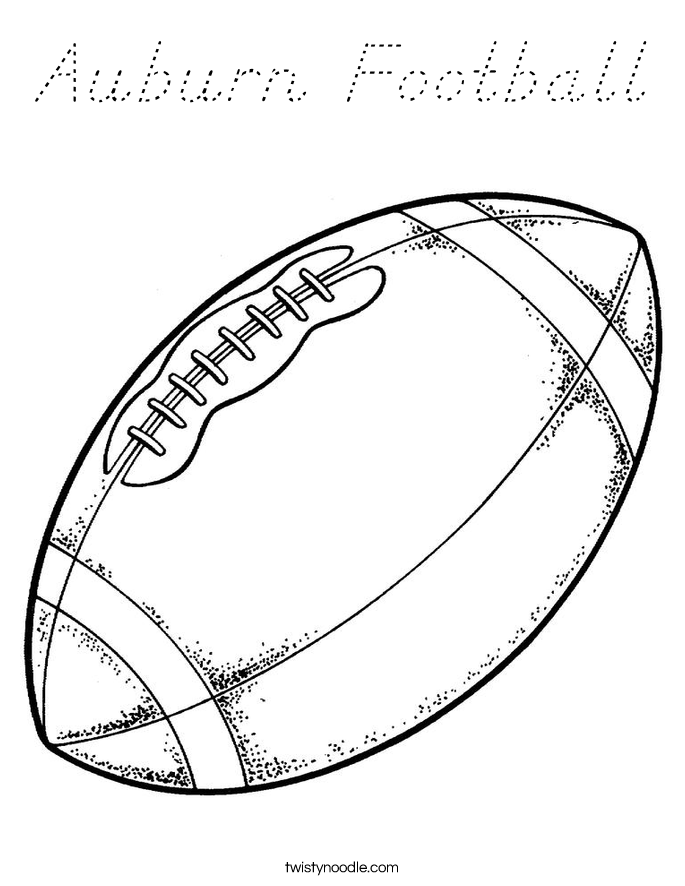
Auburn Football Coloring Page - D'Nealian - Twisty Noodle 29
'Virtual' Auburn Arts: January 20 - 27 30
Auburn Coloring Pages at GetColorings.com | Free printable colorings pages to print and color 31
Auburn Coloring Pages at GetColorings.com | Free printable colorings pages to print and color 32

Football Helmet Auburn Tiger Coloring Pages - Football Coloring Pages : KidsDrawing – Free Col 33

Auburn Coloring Page - Twisty Noodle 34
hi everyone so since i did my review of, mariola budex hair inspirations book, i've had loads of requests from people, asking me to show you how i colored the, hair and do a little bit of a, demonstration for you, so the pencils that i used were the, faber-castell polychromos, these are my go-to pencils for hair, because they're a harder oil-based lead, and that means that they keep their, points for longer which is great, for making those individual strands and, that kind of look of hair, so the colors that i used were cream, terracotta burnt sienna burnt umber and, black, now you can use any kind of pencils, obviously for this i would recommend, though that you do go for an oil-based, pencil or something that has, a harder lead because as i say it will, be easier to create, the stranded look of hair it's the, opposite of what we usually try and do, which is a really seamless, creamy blend and so yeah that's just, what you kind of have to keep in mind, really, so i have the illustration here as you, can see i'm just going to put this, up here so i can check it for reference, but it's really quite an easy technique, it's, how i usually color hair so i've zoomed, you in now to the image and i'm not, going to do the whole thing i'm just, going to demonstrate a few sections, because it really is, a very repetitive process you're just, completely repeating what you've just, done but in, individual sections so i start off with, the cream and i do an all over layer, so i'm just going to concentrate on, these sections up here in the, upper right quadrant of the hair that, was quite posh wasn't it, um and i'm just doing a really really, light layer, light pressure and i'm using the side of, the pencil, so with the rest of this tutorial i'm, going to be encouraging you to use the, points of your pencil, and keep them very sharp but with this, initial base layer we're just using the, side, because it's a lot easier to color a, larger area, and it's not that we need any particular, stranded effect yet, so this is a base layer so i'm going to, go to my next darkest colour which is, terracotta now i just mentioned about, keeping the pencil sharp being really, really important, i have one of these teagall sharpeners, and i keep it on quite a low setting, and it keeps the pencil super super, sharp but it doesn't waste, a lot of the pencil so what i'm going to, do is i'm going to look at where mariola, has left, the shading guide and i'm going to quite, conservatively, flick some strands out i'm not going to, go directly to the center yet, because that is our highlight area and i, want to kind of keep that intact until, we come back in with our next layer, where i'll be a bit more confident about, where i'm putting my strands, so starting from as i say this, very very dark shaded area we're going, to use this rocking motion of our wrist, which is the natural flexion of the, wrist to, flick out some individual hair strands, so you'll find yourself kind of curving, it like this, to go along with the direction of this, particular, section of hair, so as i said i'm keeping it restricted, at the minute and restrained, back down into the shaded area and i'm, not going to, quite fill up that central section just, yet, but i do want to make sure that we have, some nice strands on show, which is where your sharp pencils come, in so i'm going to do is i'm going to, rotate the image now because as i said, it's easier, for the wrist flexion to do this than it, is for it to do any other kind of, direction, so just putting this up so you can see, and again every so often i'll just give, it a little twist, in the teagal sharpener just to make, sure we've got that perfectly sharp tip, and just using that natural wrist motion, bring out some of the individual strands, i'm also rotating my pencil from time to, time, because as you color this edge, of the lead will become blunt and then, you can just, twist the pencil in your grip, to make sure that you're keeping to the, sharpest edge of the pencil at all times, so that saves you sharpening it a bit as, well, now there is some more darker shaded, areas down here so i'm just going to, bring that up a little bit but again, that's all for the next layer you don't, have to worry too much at the moment, we're kind of just getting our bearings, of where we're putting, the different colours so you will have, this section that's untouched in the, center, next up is the burnt sienna number 283, and again i'm just going to give that a, little sharpen with the tea girl, doesn't matter what sharpener you use as, long as you're keeping it really really, sharp, and this time i'm going to do exactly, the same thing but i'm not going to, bring it out as far as i've bought out, the terracotta, so as you can see we've got individual, strands of the burnt sienna coming out, but i'm not lengthening them as much as, i did with the terracotta, so i'm restricting it back to the shaded, area, and this is what i love about mariola's, style is that she always gives us a, really good, shading guide of where to put our darks, our lights, our shadows and highlights so it's easy, really, so once you've put a bit of that burnt, sienna in there, and you can't you can't drag a few, individual strands out don't get me, wrong it's, it's a very organic thing you don't have, to keep it, to a particular you know point or, be very rigid with it because hair is is, you know fly away and it's, not smooth and slick all of the time so, don't worry too much about, listening to instruction just kind of go, with the flow, and do exactly the same thing over here, again, just from time to time keeping the, sharpness of the tip, it's really really crucial to this, and just following the shading, guidelines really, now i would recommend if you are, printing out an image to do this, particular tutorial on, i would recommend that you print it out, on a smoother cardstock, rather than a rougher more textured, mixed media kind of card, because the individual strands that, you're creating, do look a lot sharper on flatter, smoother card, i find that it's just easier to keep, your strokes and your lines, more individual looking on a flatter, paper, so you've done your burnt sienna the, next one is the burnt umber, and again not coming out quite as far, but just filling in some of this shaded, area, with our strands, and you're starting to get that contrast, now between the darker and the lighter, which extend a little more, i'll just turn it around and do that, again, so as you can see at the moment we have, really kept it quite conservative we, haven't, ventured into this central area and, that's because this is the point where i, would then take a step back, have a look and see how far we need to, go it's always better to do, a little rather than too much because, then you can just add to it, but um we can definitely move in, further on this section with our strands, so what i would do now is, to come in again with our terracotta so, it's sort of like going back to the, start of the colors that we've used, making sure it's really really sharp and, then we can be a little braver, and extend further into the center of, the section also following some of the, shading that mariola has done here you, can see that this part is darker than, this part, so we know that we can bring our, terracotta right up, into this section where it's most shaded, and we can also extend into the, highlight as well, because no hair goes completely white on, a highlight it's still going to have, some color in it, and that's what we're trying to achieve, here so again keeping your strokes, really individual, turning it around and doing the same, thing, now some of them may touch and meet in, the middle but most of them won't, so we do want to try and keep a bit of a, bit of highlight we're trying, trying to keep the integrity of the, highlight but just make it look a little, bit more natural, we also want to keep some of that cream, going down, into the shaded areas just a little you, know little highlights of the cream, here and there, next color is the burnt sienna, you can really bring this out now with, a little heavier strokes but still very, sharp and crisp, again just drag those up here, keep rotating the pencil to get the, sharpest you can, and a couple of these you can sort of, rock your hand over, in the center and show just a little bit, of hair coming across the highlight, just don't go too far it's a little bit, of a balancing act, but again if just kind of go with the, flow of it really, and don't worry too much, so you see how we still have bits of, that cream showing through, even in coming up to the deepest parts, of the shadow, so the next is the burnt umber, again you can be a little more, heavy-handed, in just showing those lines, should be rotating the page really but, in fact i will, as i said you can bring some of the, darker colors now, over highlight but just don't go too far, with it keep your hand in your strokes, very light, now this is where i come in with the, cream again, and just do a little bit of an all-over, layer with the cream because this really, seems to brighten the highlight, and make it almost golden, so i'm not using too much pressure and, i'm not using any strand technique or, anything, i'm just adding in a little bit extra, cream, so i hope you can see how just adding in, adding in that cream has, lifted it a little bit, now again i take a step back at this, point and i think, what do i think i need to do with this, and looking here i do think i need to, bring some of the, the darker color just slightly here and, there uh to be more prevalent, so i would go in again with the burnt, umber, and yours will be different because you, put strands in different places so you, need to kind of figure out, what you think will look best but i'm, just going to bring a little bit more of, this out, and down as well, keep rotating, and i'm also going to grab, terracotta so i don't want to lose that, golden tone, and just make sure that we've still got, that in there, but don't lose all of the cream either, it's like i said it's a balancing act, really of just, just putting strokes here and there but, trying to keep all of the depth and the, different colors showing through, so that is kind of the point where i, would decide then whether i wanted, to deepen the shadows anymore and that's, where the black comes in, now i'm not going to use a lot of this, and i'm not going to use a heavy, pressure, so i'm going straight to the very corner, where the shading is, and i'm doing it very very lightly, indeed because it isn't a black tone, it's not really got any black in it, but this is just going to help deepen, the brown a little bit, and maximize the contrast so it's going, to look really really light over here in, the highlight and then quite deep and, dark over here, in the shadow and that is kind of the, realism, effect so as i said very very lightly, handed, and not using too much at all i'm not, bringing it, you know really far down into the, section, and you'll find that it just does deepen, those brown areas a little bit really, because you're not, you're not pressing hard enough to make, it a solid black, it just sort of ends up looking like a, dark brown, which is the effect that i'm going for, so this is, basically how i would color a section of, hair, i would again just have a look and see, if there's any areas that i think, need something doing to it and you could, maybe come in with your darkest brown, again, and bring in a couple more very thin, strands across the center of the, highlight, but that's it so what i'm going to do is, i'm just going to speed color a little, bit more here, so that you can see a larger section of, hair being done, but it's exactly the same thing so i've, already done my layer of cream haven't i, so i'll just make sure we've got a nice, highlighted layer and then i'll do a, little bit more, so when you're doing areas that do tend, to have deeper shading like this section, here for example there's barely any, highlight on this, of course you can extend and bring your, darker colors in further than we did on, this initial section because you're just, following, the uh the shading and the highlights on, the different sections of hair, so as you can see here i've pulled this, one out really quite far, and i've also come in from the bottom as, well and again here, on this particular part there's barely, any highlight so i've really brought the, terracotta, almost right out to the end there so, just following exactly what you're given, basically, so there we are that's exactly how i, colored the hair on the mario budak, picture that i did for the review, and if you do have any of these sections, that seem to be popping up and popping, out, i would tend to make those quite light, just because they're they're sort of, bouncing, up from the hair so i would guess that, they would catch light, a little bit more than the uh the deeper, sort of more inset, sections of the hair so i'll just go, over them with a bit of cream, and just do exactly what we did before, just adding in, bits of deeper colors here and there, where you think, they're needed so i'll just do that, really really quickly, um but other than that there's nothing, else to really tell it's quite an easy, thing to do it's, a little time consuming and it requires, you to sometimes just have a think, uh step back and think of what more, needs to be done, because it is that kind of process of, deciding, does it need more layers of colour does, it need to be, um brought out a bit more with a cream, or does it need to be, scaled back from the orange into the, deeper tones it really really just, depends but that's these particular, colors that i'm using and it'll be, different, for obviously whichever color scheme you, decide, so i'm just adding in little bits of, color here and there on these, highlighted sections and really it's, just, it's just strands of of pencil i'm not, being very careful with it, and i'm just keeping that very organic, look of flyaway hair, so there will be bits of of hair all, over the place as there is in real life, and it won't always look perfect because, no hair ever really does, and uh i think it just gives it that, that look, and if you want to kind of define those, pieces of hair just come up with your, darker color, and sort of outline the section a little, bit, so they look a little bit more defined, but it's very rough and ready, and that's just how i like to color i'm, not a very precise, person and but i do think it still looks, really effective and, real i hope so do let me know whether, you've enjoyed this review or not i'd, really appreciate a thumbs up and a, comment, and of course if you haven't subscribed, to the channel yet please do that for, more of this kind of thing, so thank you very much for watching and, i will see you soon on colour with, claire
Reddit Images 10
Refreshed my color after seeing so many of you guys saying it was a good fit on my previous post and I tried an auburn pencil for my brows to tie it in better. Should I try to go a bit darker on my brows or is this a good match? 0

Went from black to this really pretty auburn red color today. Are my natural eyebrows too dark now? If so, what shade should I dye them? 1
Just finished another page of the coloring book. Page 6… I believe 2
page coloring for ch 171. 3

Changed my color from auburn to brunette ☺️ I will miss the red color but for now trying out something new!! 4

PHOTO-COLORED. A pool hall in Shasta County, California 1940, a '34 Auburn 652Y sedan in blue parked at the door 5
Konomi coloring by @Shazayumart (chapter 93 cover page) 6

I’ve been trying to figure out my season for awhile… always thought I looked best in cool colors because of my pink skin tone. My hair has a auburn/red undertone, hazel eyes, pale with very pink undertones. Any insight or opinions appreciated! 7
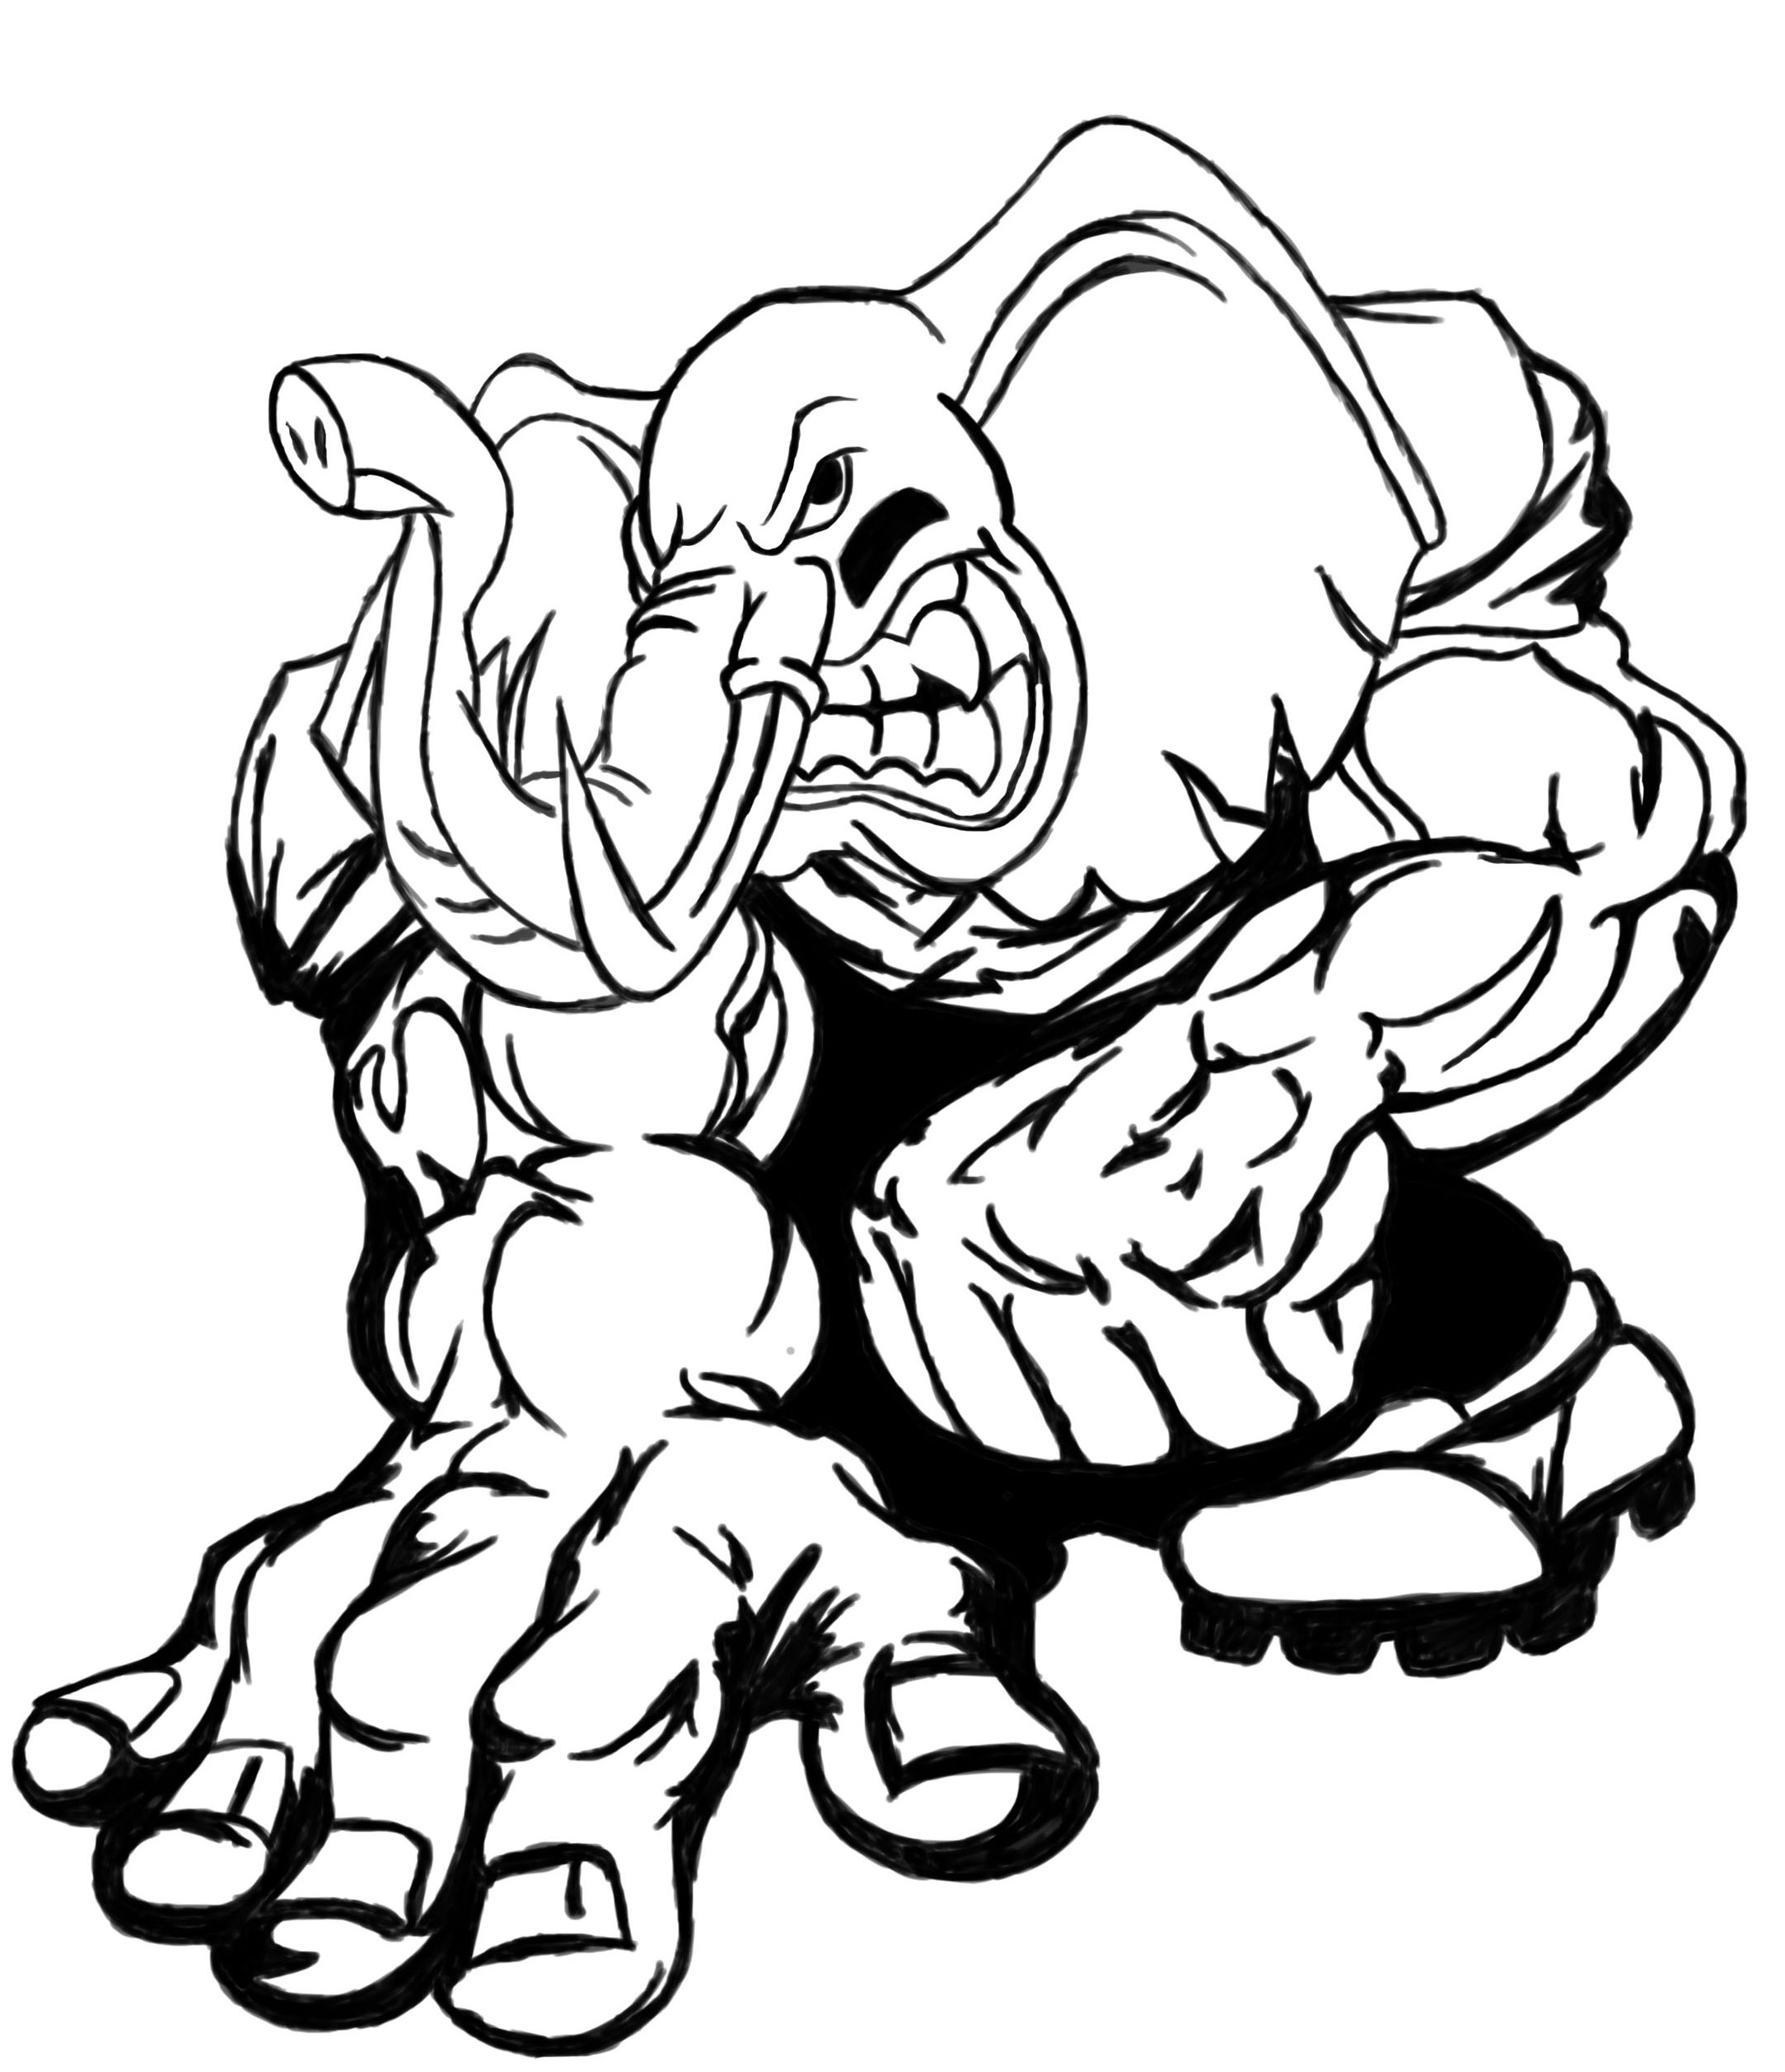
![[Other] who is this villain on my son’s coloring page? It’s driving me nuts!](https://i.redd.it/ihia4i1szvi91.jpg)
[Other] who is this villain on my son’s coloring page? It’s driving me nuts! 8
![[No Spoilers] Digitally colored the cover page (not the actual cover of the book itself) of the Life Is Strange coloring book](https://i.redd.it/cdncsa6chuu91.jpg)
[No Spoilers] Digitally colored the cover page (not the actual cover of the book itself) of the Life Is Strange coloring book 9

Trying to choose a color for knotless braids. I usually get black but want to switch it up with brown, blonde or auburn. Any suggestions for my skin tone? 10

First page of the coloring book done! Any thoughts? 11
Randomly coloring one page of my coloring book 12
{Artwork} Finally finished working on the coloring of this mask-less Spider-Gwen. It's about 98% pencils, with 2% of it in gel pen. It's a page from Marvel's WOMEN OF POWER coloring book, w/original art by Emanuela Lupacchino from Spider-Gwen Vol 2 #6 (Cover B Variant). 13

Not very visible in here but was so beautiful to see the auburn colors live! 14
My coloring of the cover page for Ch. 159 15

Super bored with my natural hair color. Would auburn or black look good? Also open to suggestions! 16
,


Comments
Post a Comment