38 beetlejuice coloring page
beetlejuice coloring page
Beetlejuice Coloring Pages. Download and print these Beetlejuice coloring pages for free. Beetlejuice coloring pages are a fun way for kids of all ages to develop creativity, focus, motor … 0
Free printable Beetlejuice coloring pages Free printable Beetlejuice coloring pages for kids! Choose your favorite coloring page and color it in bright colors. Recommended coloring pages: … 1
Beetlejuice Coloring Pages - Coloring Home 2

Check out our beetlejuice coloring page selection for the very best in unique or custom, handmade pieces from our shops. 3
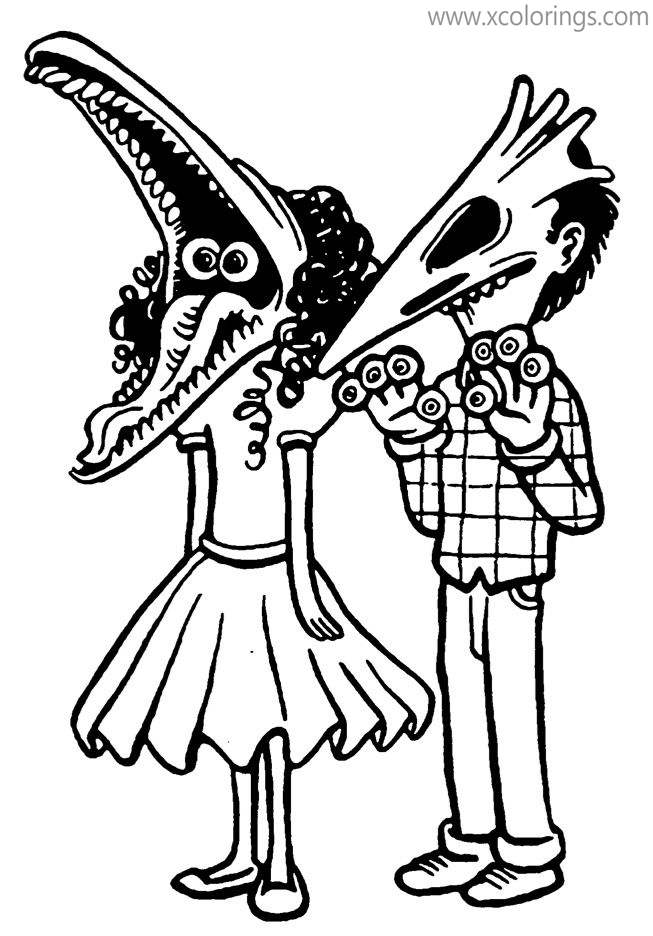
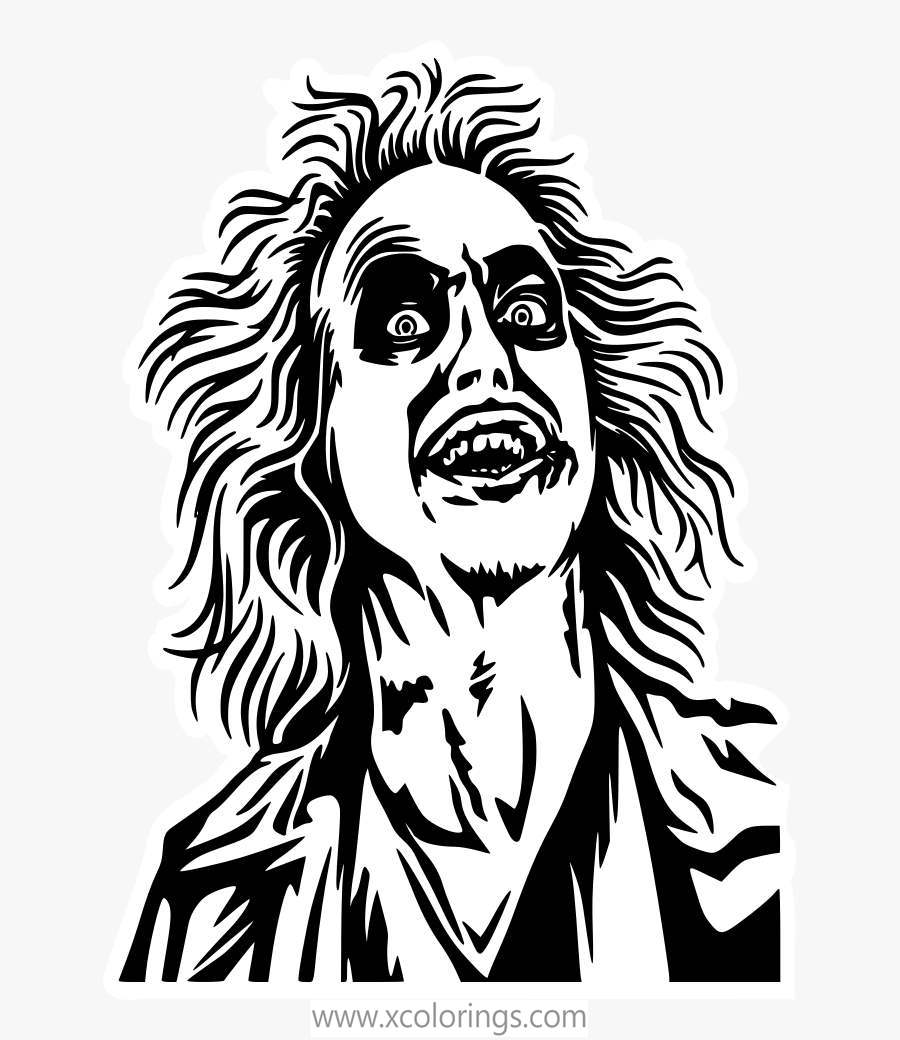
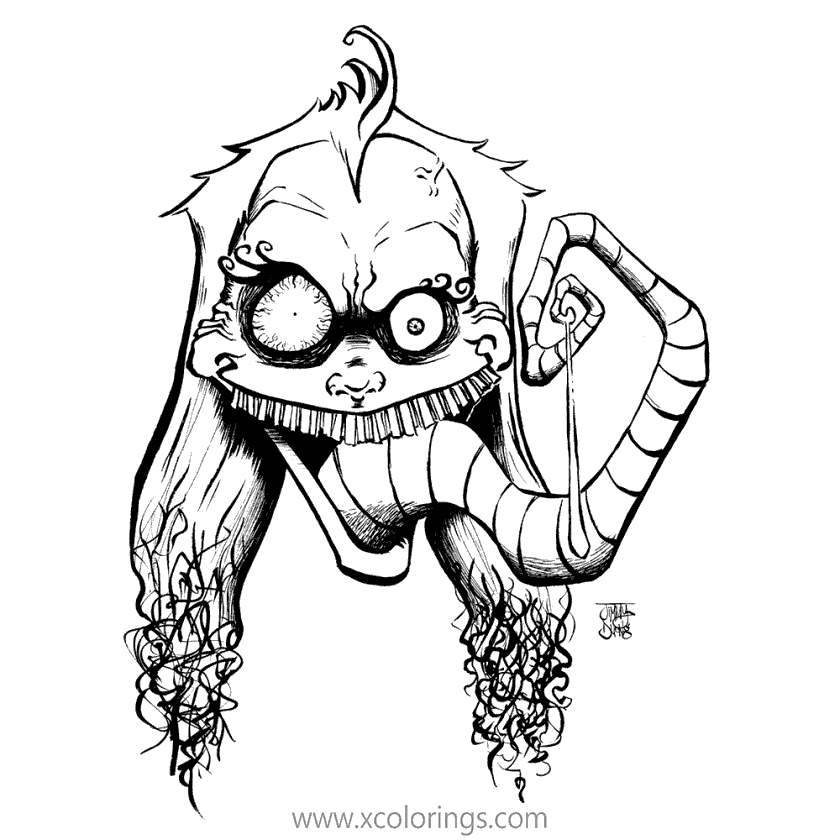
Beetlejuice Coloring Pages Masks - XColorings.com 4
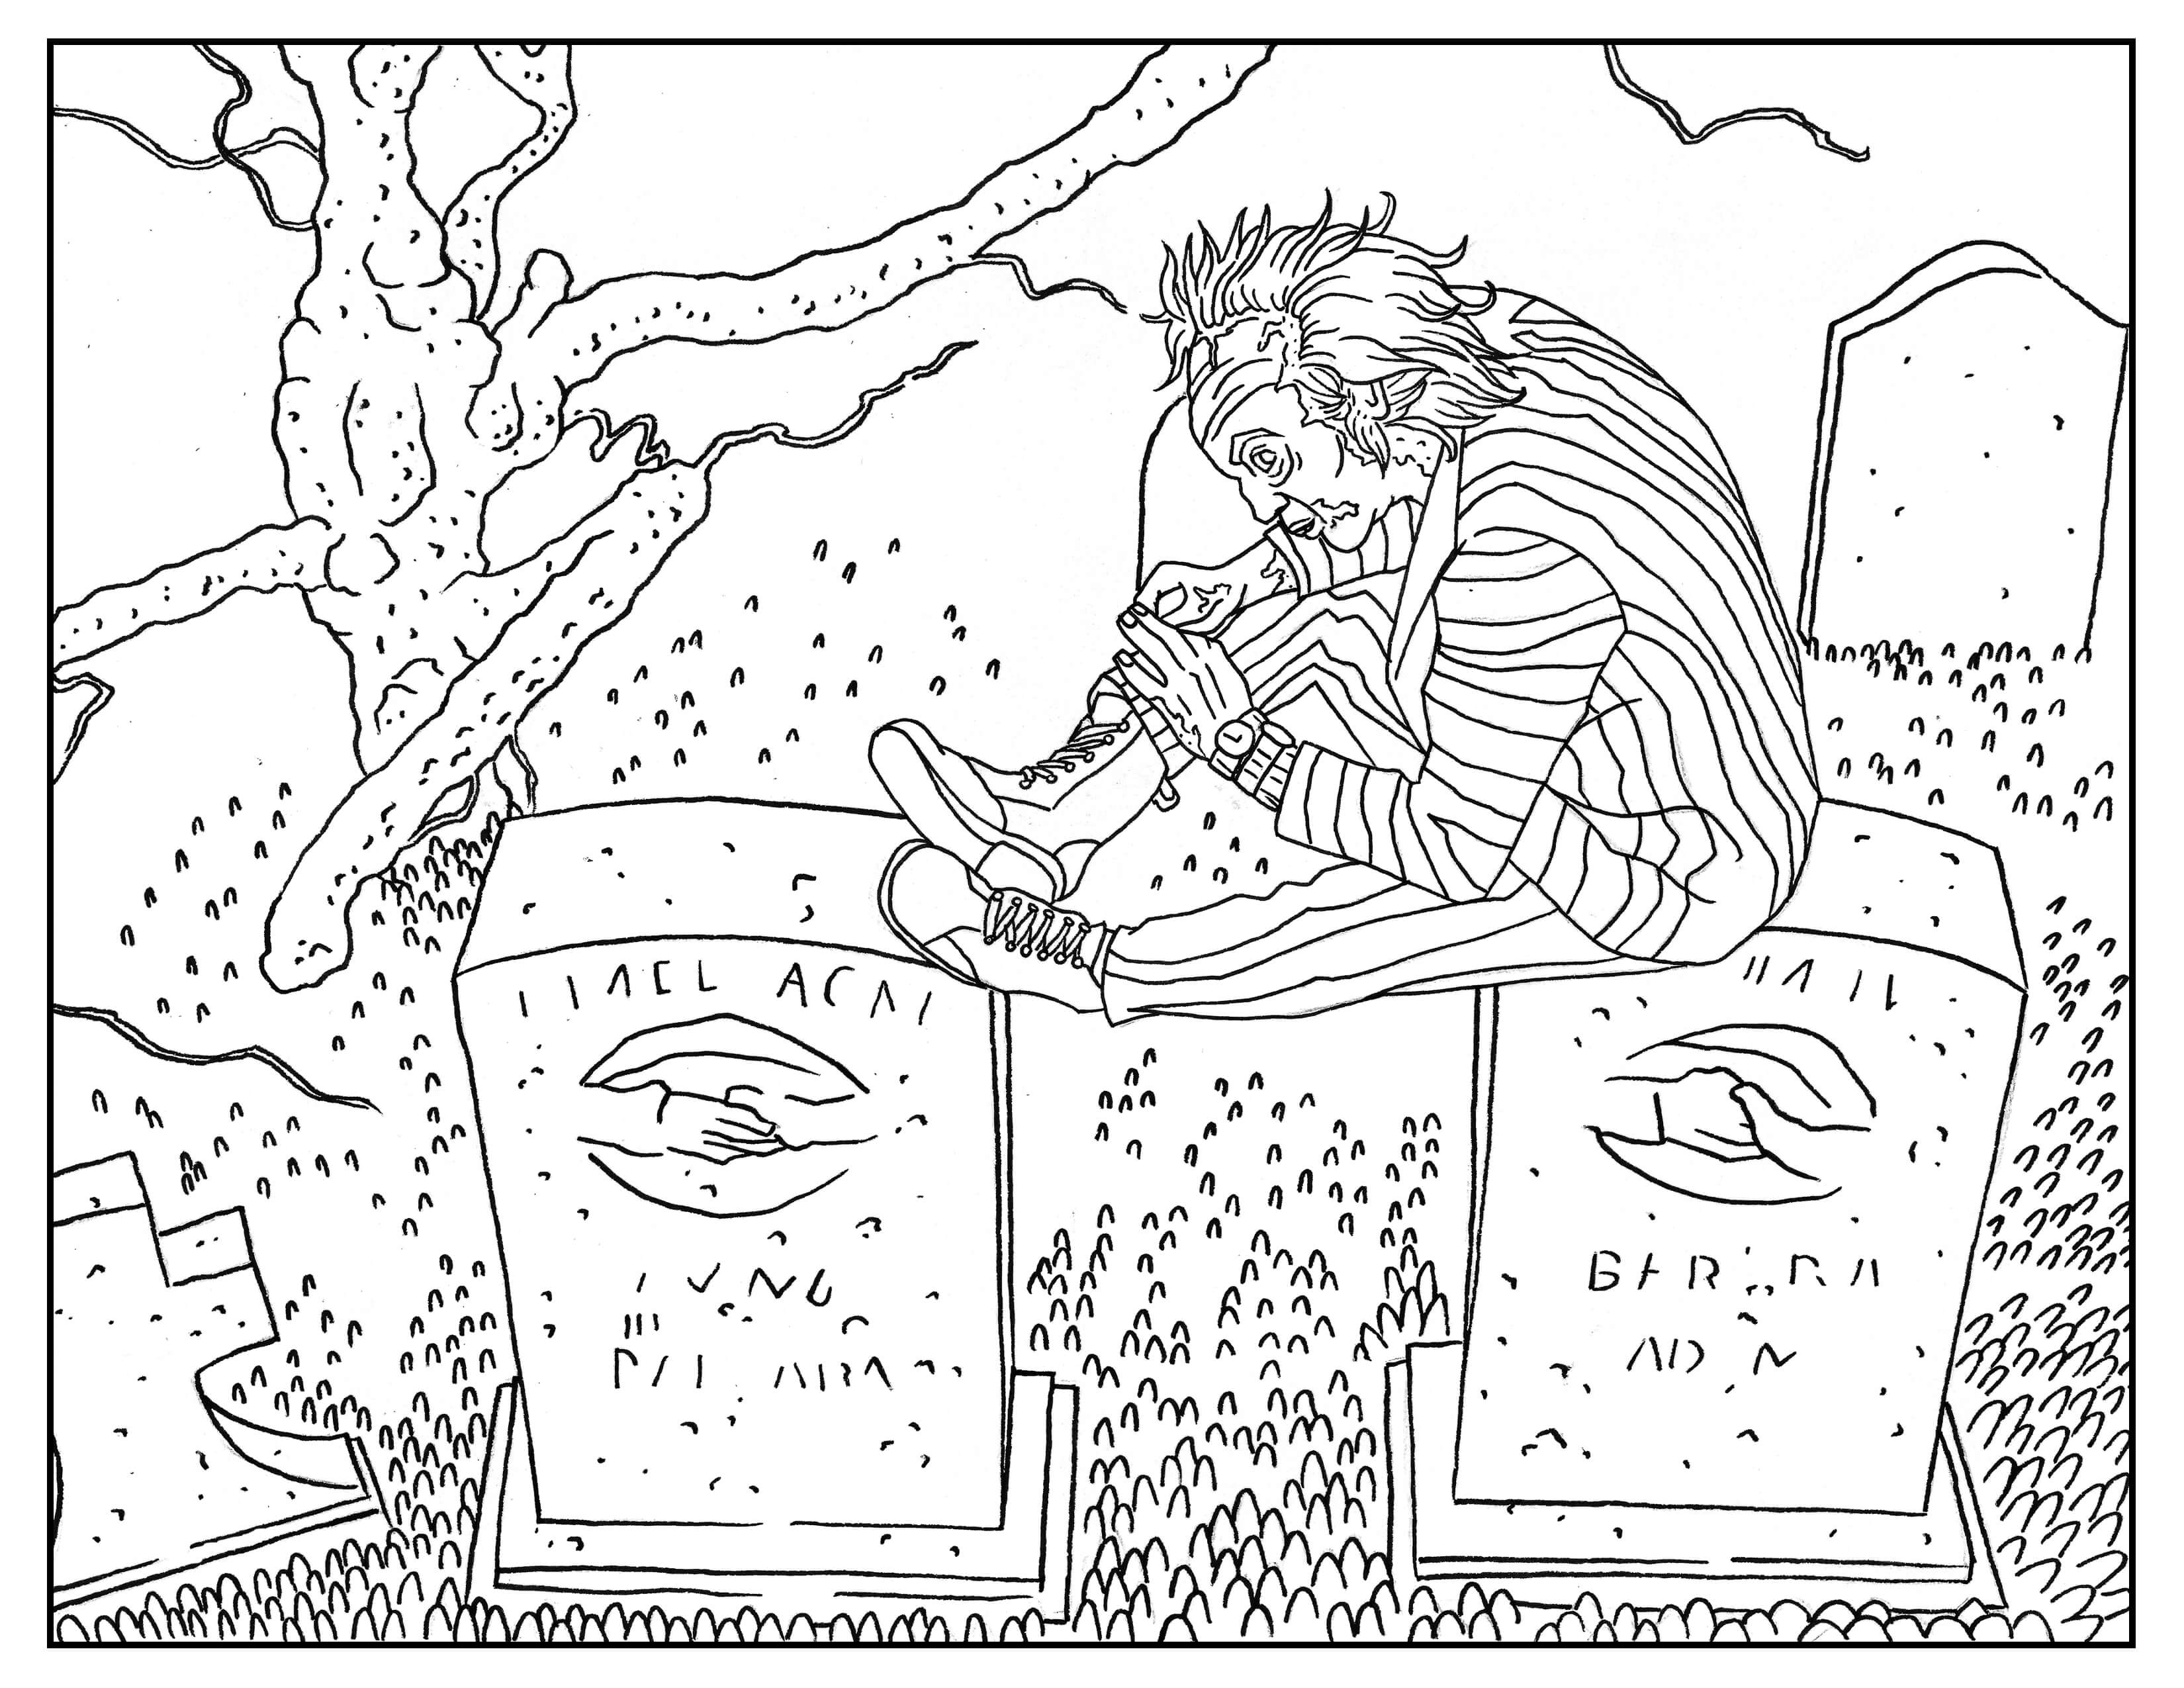
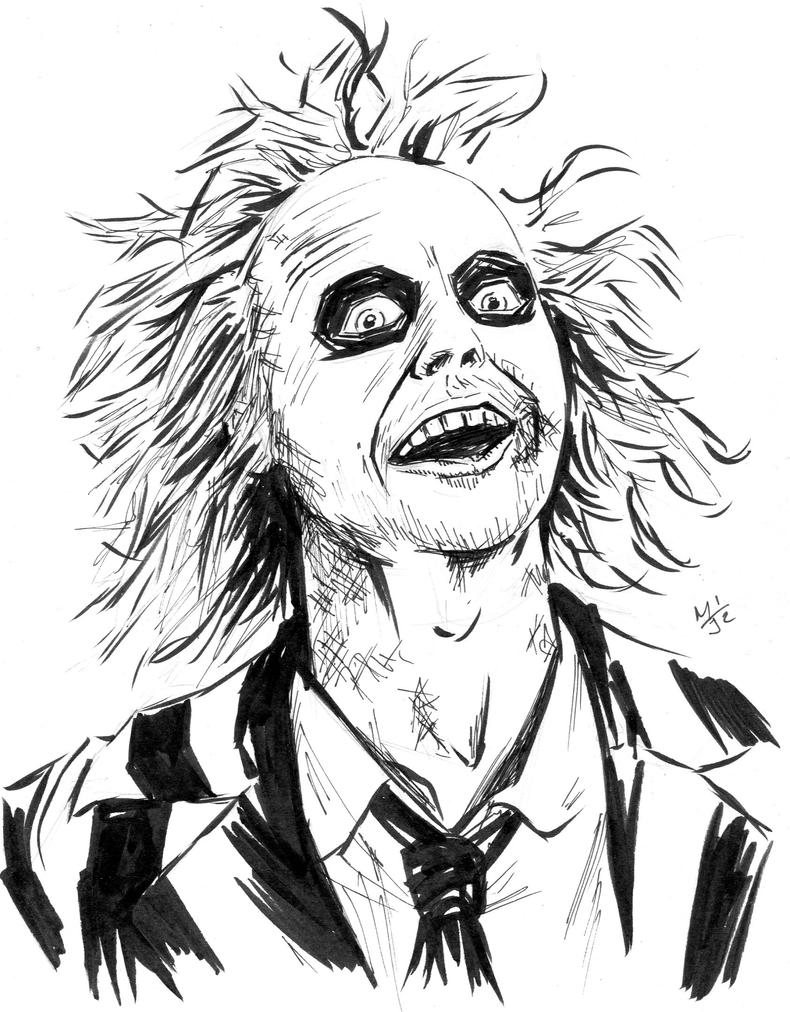
Beetlejuice Adult Book Page - Movies Adult Coloring Pages 5

http://www.retroreprints.com/image.php?img_id=3566 | Beetlejuice coloring pages, Halloween 6

Beetlejuice Coloring Pages | Coloring Books at Retro Reprints - The world's largest coloring 7
Download or print this amazing coloring page: Beetlejuice Coloring Pages: RetroReprints - The world's one true coloring book archive! | Beetlejuice fan art, Coloring pages, Beetlejuice 8

Jun 04, 2022 · What is beetlejuice coloring pages? beetlejuice coloring pages is official recipe page/portal. Where you can manage your account and its data. You have the right to make … 9

Draw Chibi Beetlejuice, Beetlejuice, Step By Step, Drawing Sheets - Coloring Home 10
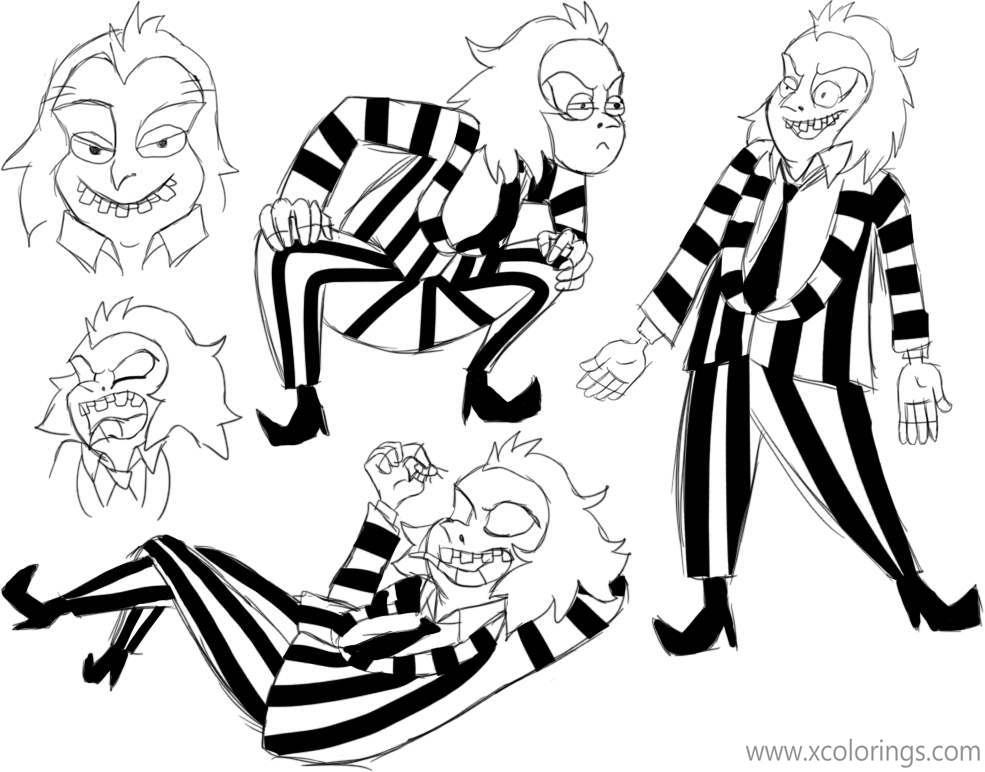
Animated Beetlejuice Coloring Pages - XColorings.com 11
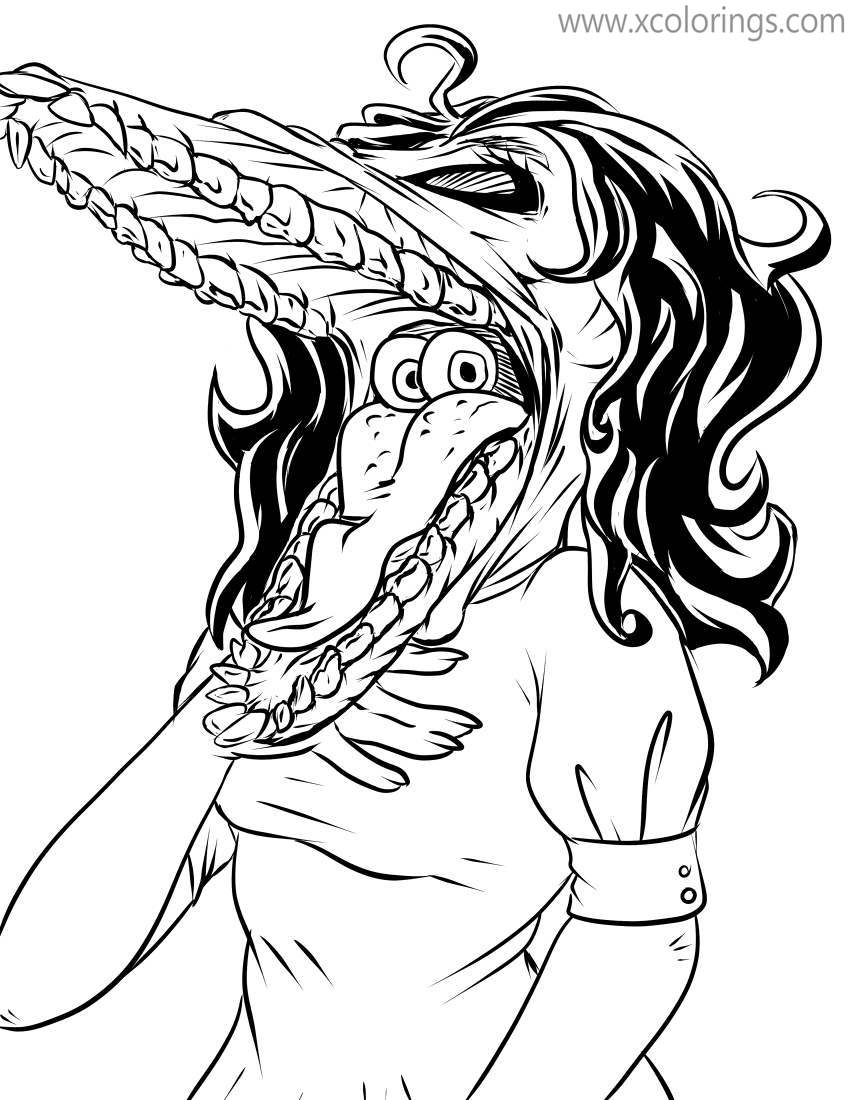
Beetlejuice Coloring Pages Barbara Maitland by S-Blackthorne - XColorings.com 12

Page 1 | Beetlejuice, Humanoid sketch, Halloween costumes 13
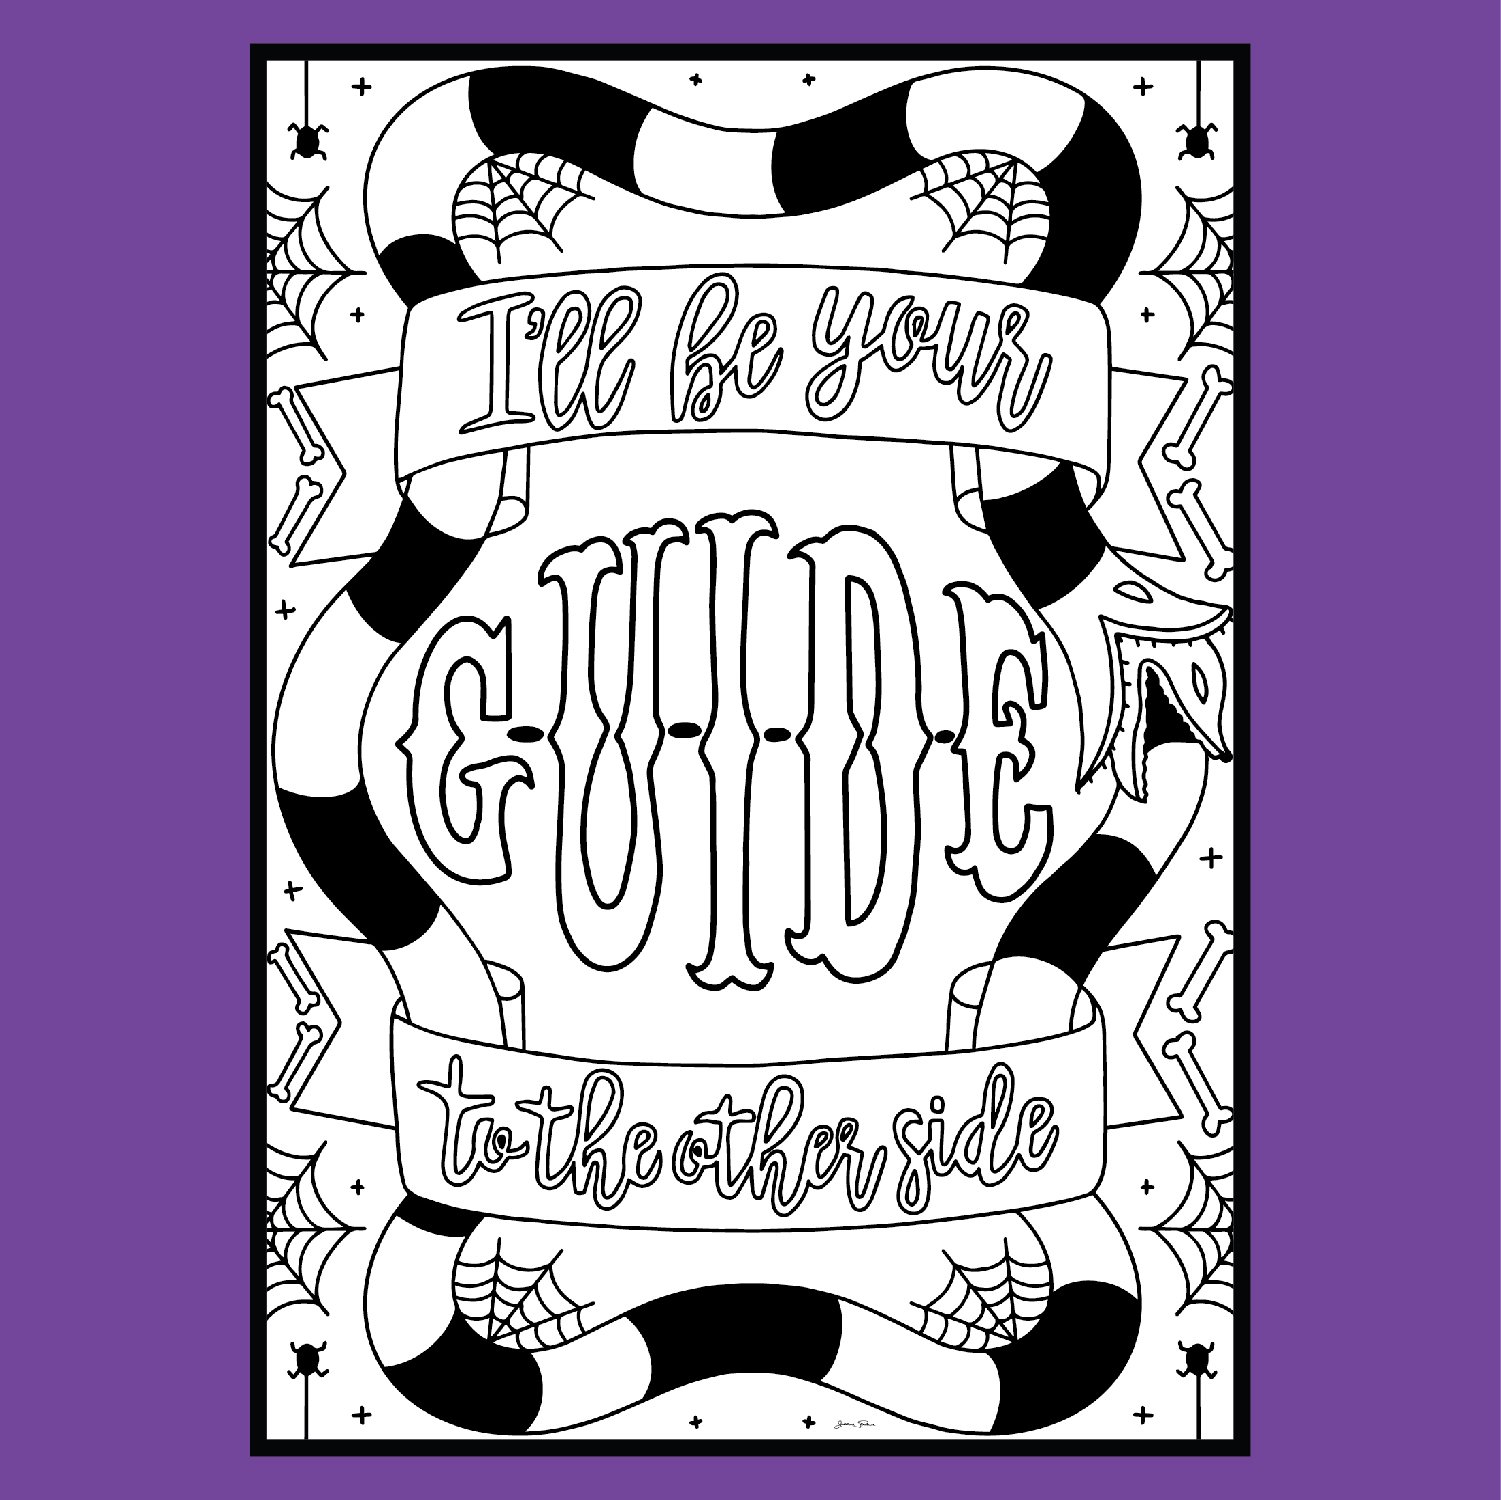
Beetlejuice Movie Coloring Pages / Set of 4 beautifully designed coloring pages featuring quotes 14
Beetlejuice 5 Coloring Page - Free Printable Coloring Pages for Kids 15
Beetlejuice Coloring Pages - Coloring Home 16
Beetlejuice Coloring Pages For Adults : This is beetlejuice animated series character guide (to 17

Beetlejuice Drawings Sketch Coloring Page 18

Printable Beetlejuice Coloring Pages | 404 Coloring Pages 19
Beetlejuice Drawings Sketch Coloring Page 20
Beetlejuice Coloring Pages Inkling - XColorings.com 21

beetlejuice sin color :3 by Yasithecat on DeviantArt 22

Beetlejuice Coloring Pages | Fantasy Coloring Pages 23

Pin on over sofa 24
Beetlejuice Coloring Pages - Coloring Home 25
Beetlejuice Coloring Pages - Coloring Home 26

beetlejuice beetlejuice beetlejuice Art Prints by mandarinjean | Redbubble 27

Beetle Juice Beetlejuice Coloring Pages | 101 Coloring Pages 28

Beetlejuice Coloring Page | kenziecrow 29
Beetlejuice Coloring Pages Alec by Jake Standley - XColorings.com 30

Printable Beetlejuice Coloring Pages | 404 Coloring Pages 31

Coloring Book Beetlejuice Coloring Pages - Ygnizem Wallpaper 32
Beetlejuice Coloring Pages - Coloring Home 33

Pinto Dibujos: Beattlejuice para colorear 34
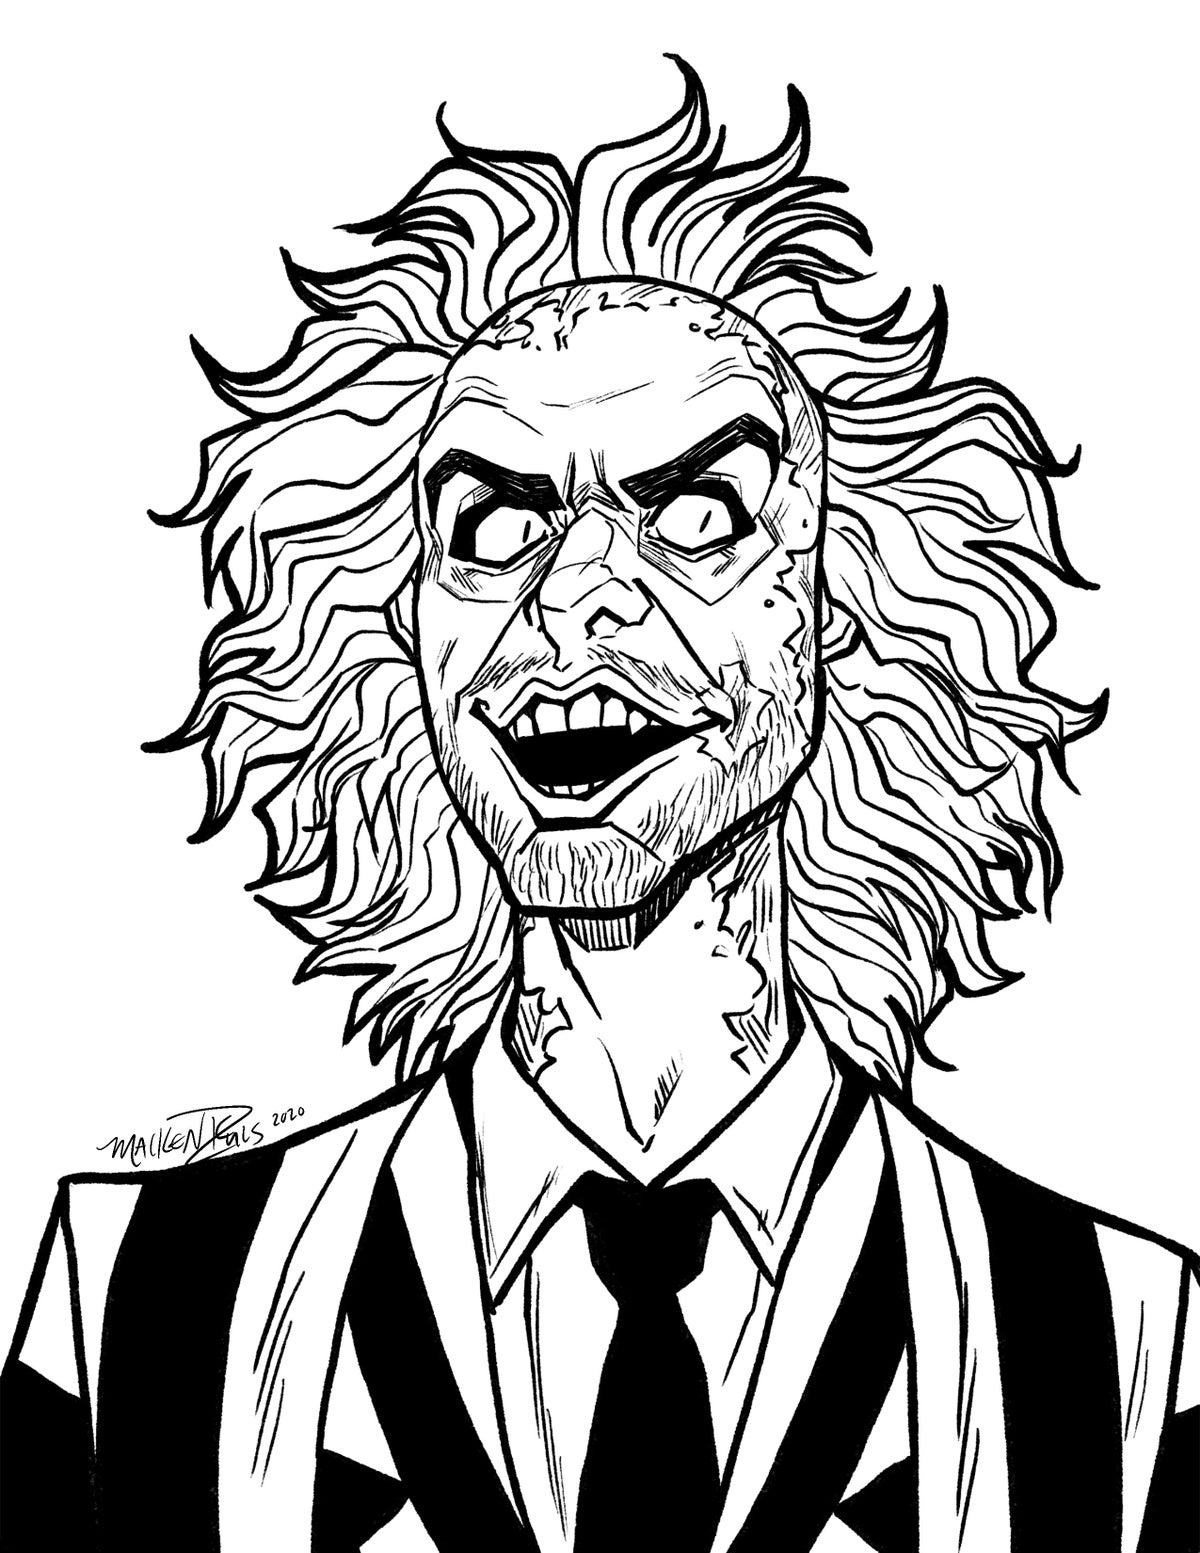
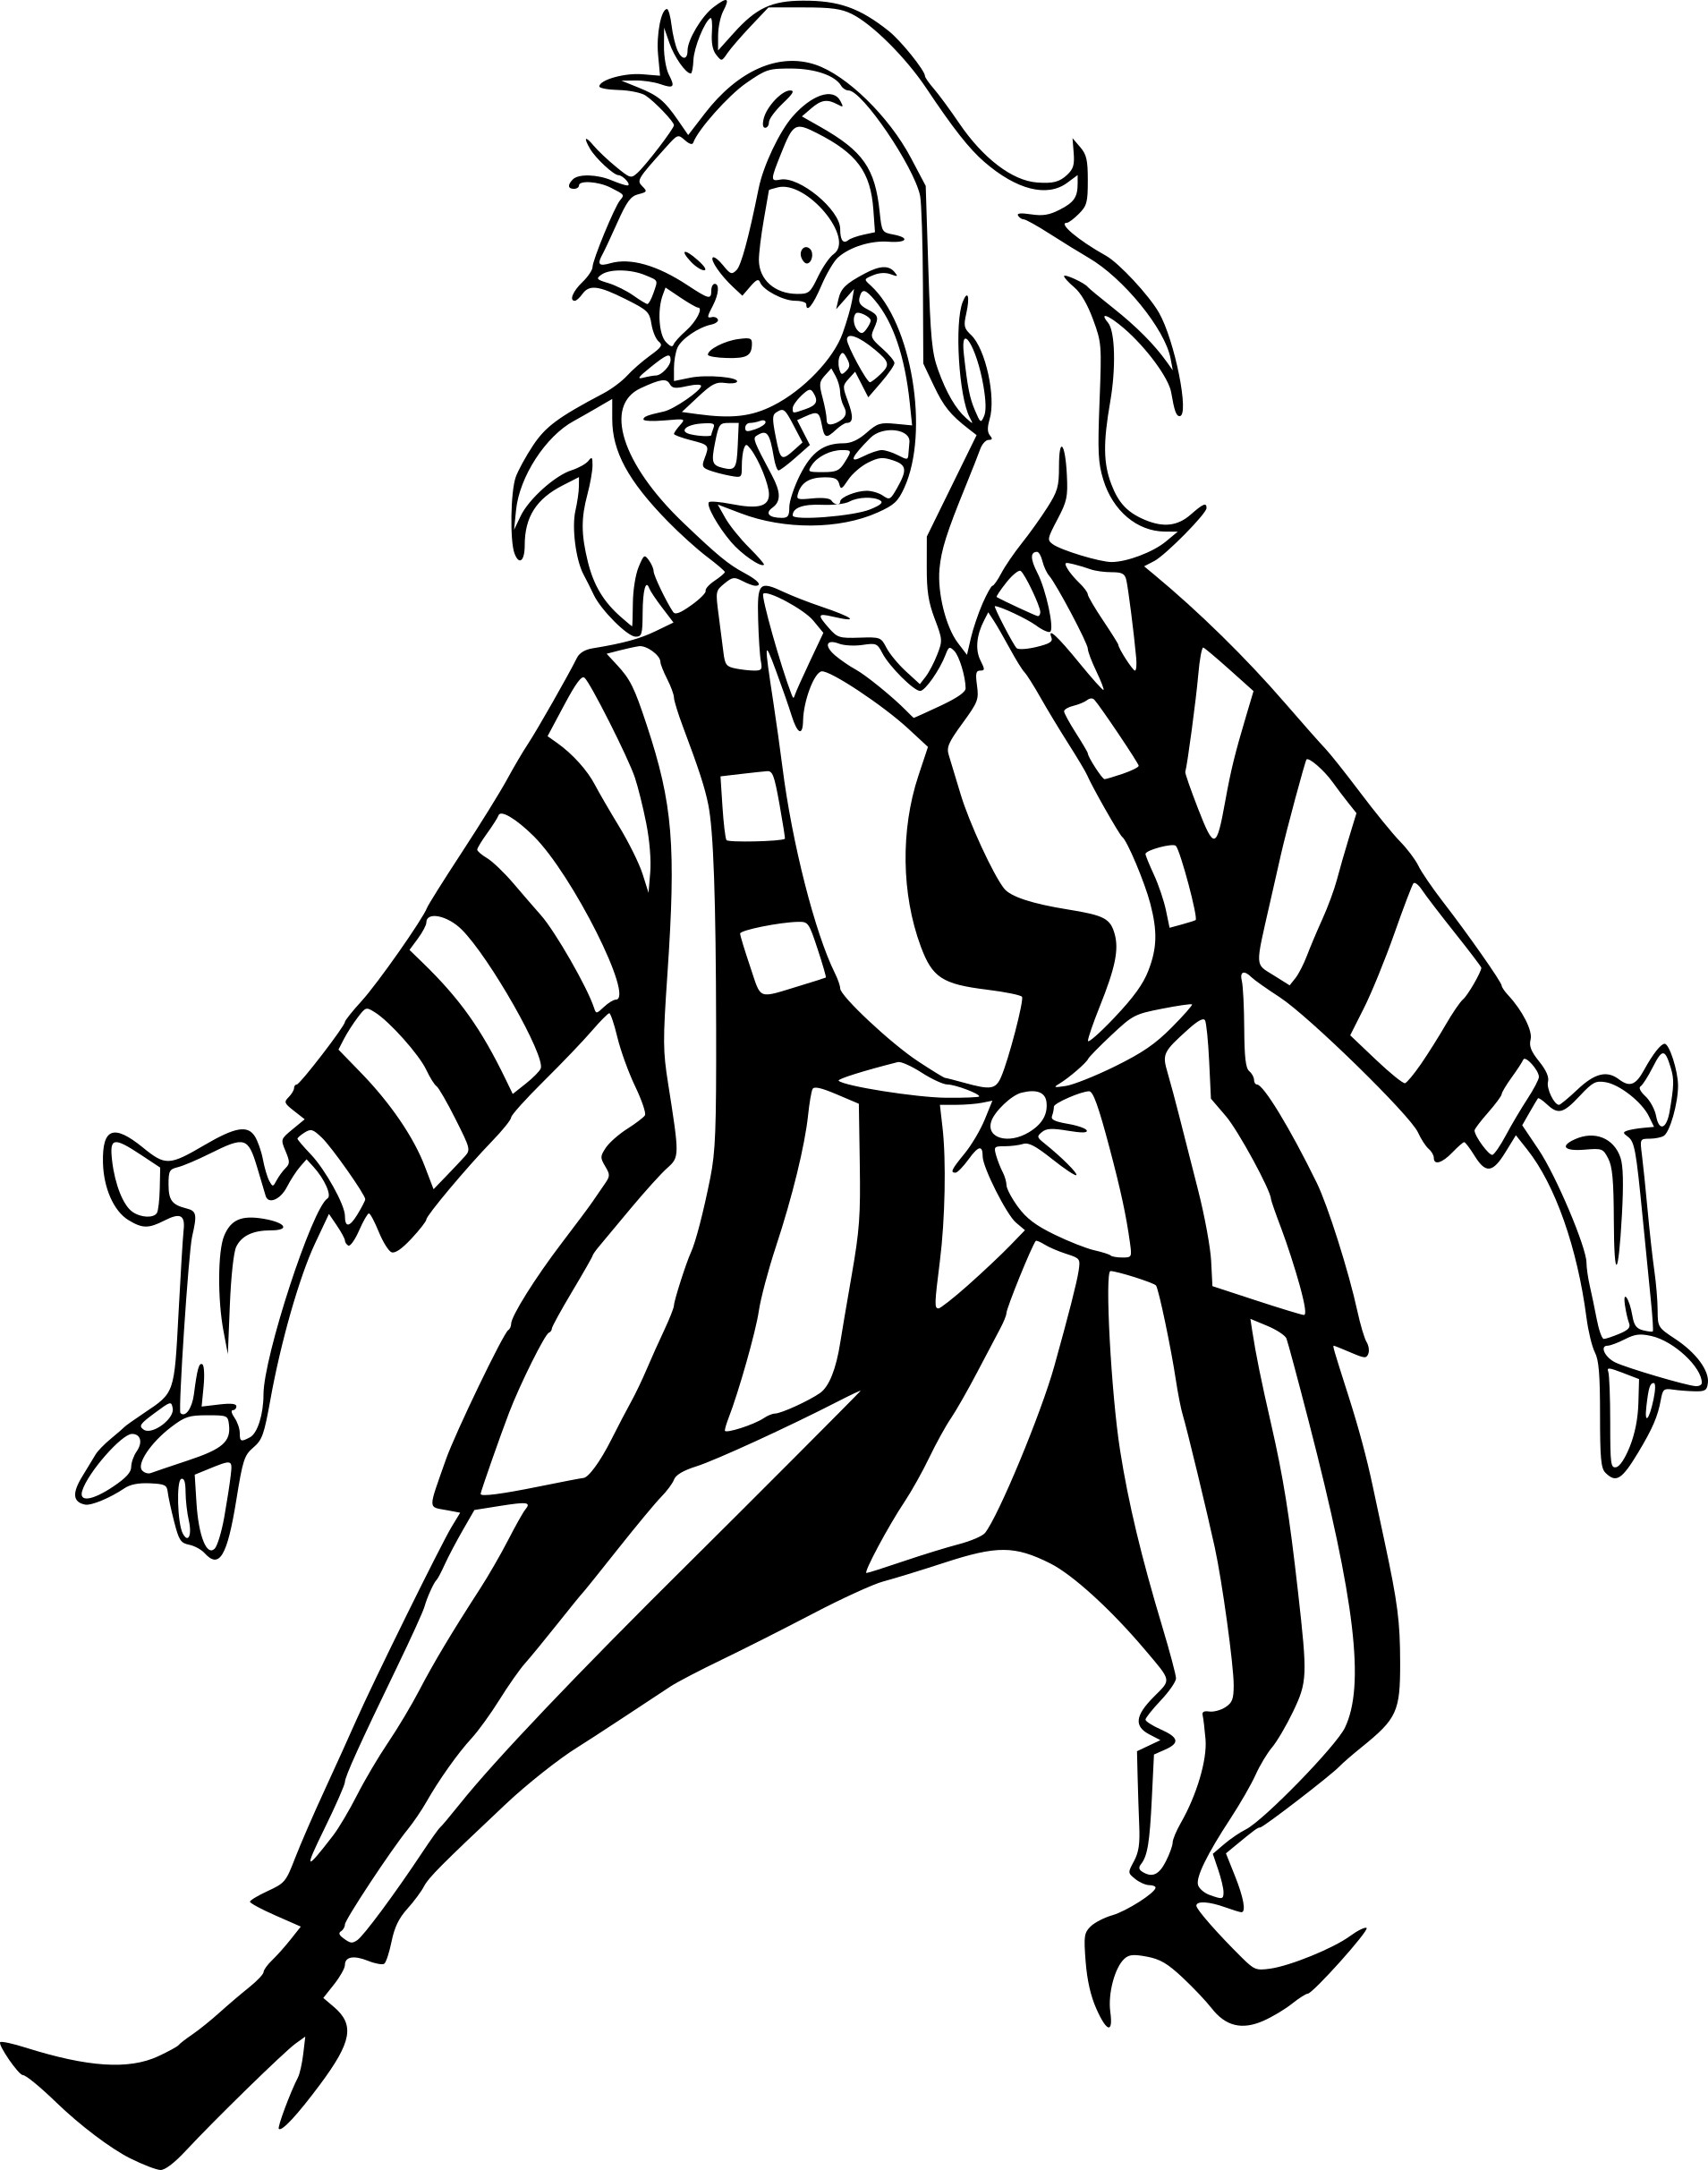
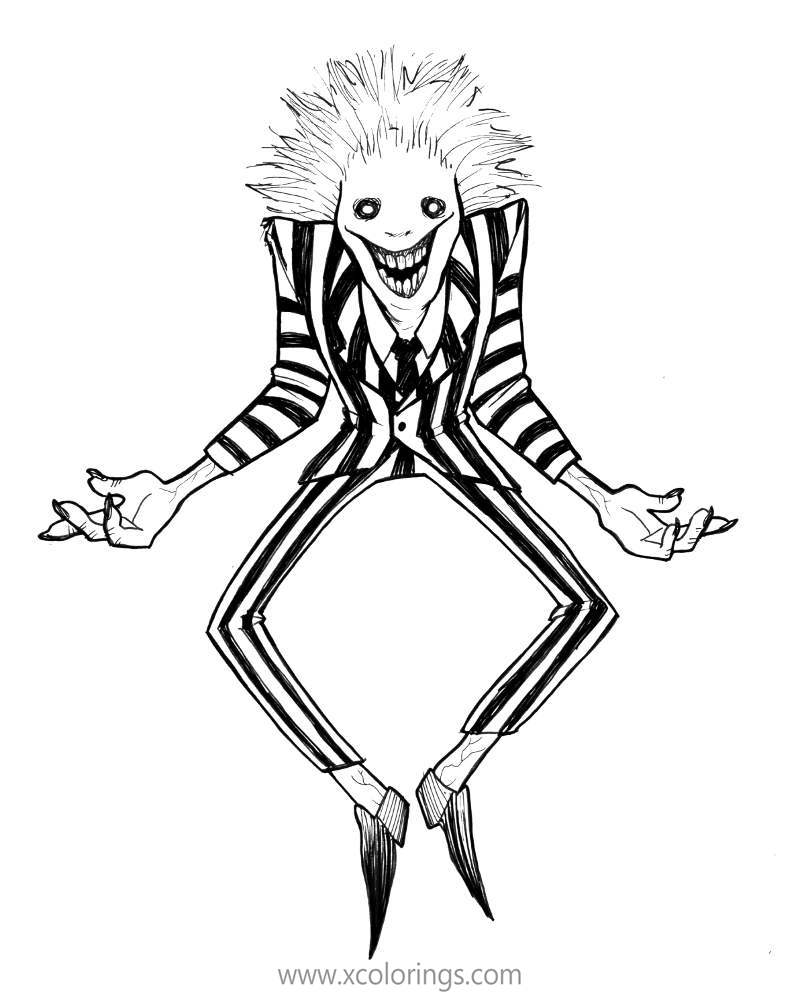
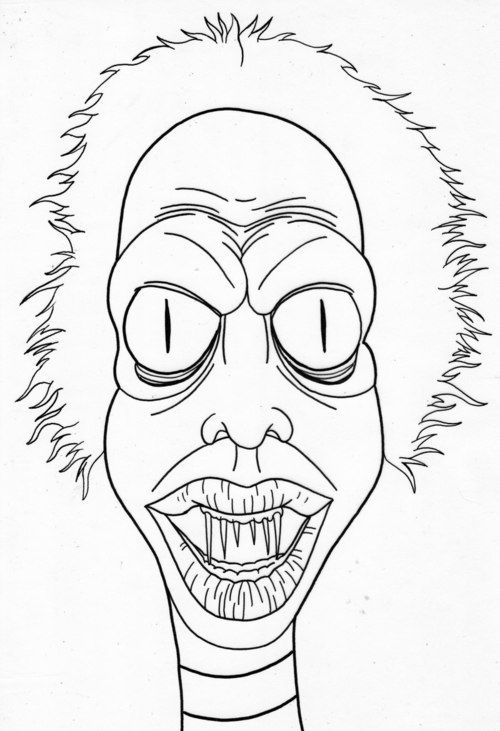
what's up everyone welcome to the club, in today's video i'm going to be showing, how to draw beetlejuice make sure you, subscribe because i'm posting new, lessons every single day, [Music], let's get started in the center of our, page with the eyes so we move over to, the left side and draw on a circle, starting from the very top, and work our way around to the bottom of, the eye, and then back up towards the top now, leave a large gap in the center and draw, the same thing on the right so we're, going to line up the top of the circle, on the right side, now we draw two small circles for the, pupils we want to push them in so let's, start on the left side, draw a smaller circle leave a little, space on the inside of the eye, we line this up on the right, and do the same thing, now on the top left of each pupil i'm, going to add a smaller circle for a, highlight, and then we're going to go in and fill, the pupils in black, [Music], [Music], let's move up and draw the eyebrows, directly above the left eye and curve in, then down on the inside let's line this, up on the right, and do the same thing, now to curve down and out down towards, the corner of the eyebrows, now let's go back to the inside we're, going to curl up the frown line starting, from the left will curve up, and then in, [Music], now let's thicken up the eyebrow start, from the outside i want to taper this up, towards the top now i'm going to follow, that same curve, coming in towards that frown line, let's do the same thing on the right, side, [Music], now we're going to go ahead and fill the, eyebrows in black, [Music], [Music], in line with the bottom of the eye we'll, move to the center and draw the tip of, the nose so we're starting left we're, going to draw a curve coming down, and then up, now we're going to step up and draw a, shorter curve in the opposite direction, for the bridge of the nose, now we're going to add that dark trim, around the eyes we start from the tip of, the eyebrow on the outside, and curve down and in just underneath, the left eye, and we'll pull that up towards the, inside corner of the eyebrow let's do, the same thing on the right, coming down, [Music], rounding this out and then going up, towards the outside corner of the, eyebrow, now we step down and draw the top edge, of the mouth starting from the left side, will curve down, and then back up, [Music], now let's add in some teeth starting, from the center and occur down and then, up towards the left, we'll do the same thing on the right, let's do another one, on the other side, [Music], and then we'll add an even smaller one, on the ends, [Music], now draw the bottom of the mouth in, behind the teeth we'll start underneath, this tooth draw a half circle coming, down, and up on the right let's add the edge, of the tongue, over on the left i'm going to curve up, the middle, and then down and it'll fill the upper, area in black, now it's going to add the lower lip, starting on the left side i'm just going, to follow the same curve of the mouth, going up towards the right, now i'm going to add a drip mark over on, the right side so we're starting the, edge of the mouth and curve down and up, like drawing a u, now i'm going to come down a little bit, lower and then go all the way up towards, the tooth, and we do a smaller one on the end going, all the way up towards the corner of the, mouth now at the bottom here i'm going, to draw a small circle, [Music], okay so now that we finish the face, let's draw the lower part of the head, from the left eye and step out and draw, a large half circle coming down, underneath the mouth, in the center i'm going to pull this, back up on the right side going, out, and then up to the same height, now i want to continue this line going, up above the left eyebrow so we're going, to go straight up, and then we're just going to bend that, into right about there let's do the same, thing on the right going straight up, and then bending that, in, now we just want to hook this back down, and out, short curve, and then we're going to connect these, two points with the curve for the top of, the head, start on the left we're going to curve, up, and back down on the right, let's add that same drip mark on the top, left of the head, start by curving down and then up, come down even lower in the middle, and go all the way up leaving a little, gap at the top, and then we'll do another short curve, coming down and then up, at the bottom here i'm just going to add, a small circle, now i'm going to surround the head with, the hair start from the center i'm going, to step up start with a point, now from this point i want to curve up, and then out towards the right now we're, just going to taper that back down and, then and gap on the top of the head now, it's curving the opposite direction, out, and up, and we're going to taper this back in, towards the head we continue this, pattern around the head, so from here we're going to go up, again, and we'll come down, and then in let's go to the left side, from here we're going to curve out, and then up, and taper that back down and go in the, opposite direction, [Music], and then one more time, go out and down, and pull that back in, [Music], now before we finish off the hair let's, draw on the ears just above the cheek on, the side of the head we're going to, curve up, round out the ear, and then pull that in we'll line this up, on the right side, and do the same thing, let's draw the inside of the ear, starting on the left will curve up, and then out, [Music], now let's go back to the left side and, draw the rest of the hair, curve down, and up i'm just going to pull this in, towards the ear, pull that right in, let's go to the right here we curve down, and out, and then in behind the ear, now we're going to add a few more points, along the bottom starting on the left, we'll curve out, and down, now we'll taper that back up leaving a, little space underneath the earlobe, we'll do another one going the opposite, direction come down and out, and we'll pull that up and in behind the, head, now i'm going to go back and just, accentuate the frown line from the, center we'll step over towards the left, curve up and in towards the middle, all right now let's move down and draw, on the body we'll start the sides of the, body first so over on the left and curve, out, and down towards the bottom of the, jacket, and do the same thing on the right side, now from here we're going to curve down, and in leaving a gap in the center, come into right about there, on both sides and then we're going to, pull this straight up underneath the, head, now from the bottom corner of the jacket, we're going to step up, and draw a curve left to right, [Music], let's move up to the top and draw the, color of the shirt from the center i'm, gonna angle down and out towards the, left, and then the right now we're gonna add, the tie i'm gonna add a v along the top, and from that center i want to angle, straight down and out towards the left, and then the right, and i'll connect these two points with, another v, let's go in and fill the tie in black, [Music], let's add in the color of the jacket, from the top of the jacket on the inside, we're going to step out, curve down, and then in, and then we're going to add the stripes, of the jacket starting from the outside, we step in, draw that same curve going up underneath, the jacket collar, and the same thing on the right side we, add one more stripe underneath the, collar let's curve down towards the, bottom, [Music], now we're going to fill that center, stripe in black, [Music], now we're going to continue working down, the legs in the center and step down, draw a curve left to right going up and, then down, leaving a gap in the center go over, towards the left, out, and down towards the left heel, and then the right heel, now let's round out the bottom of the, feet, starting from the left heel and curve, down, and then up towards the toe, now back on the left side we're going to, draw the top of the foot we draw a half, circle aiming towards the heel so from, the toe or curve up i'm going to come, down we're going to stop right about, there, and do the same thing on the right, let's move back up to the top and draw, on the side of the leg from the outside, corner of the jacket i'm going to step, in, curve out, round out the leg and then pull that in, towards the top of the foot, let's thicken up the sole we want to, take this curve and just draw it right, up above, [Music], from the top of the foot we want to step, up and draw the edge of the boot on the, outside of the leg will curve down and, then up, and do the same thing on the right, now let's add some stripes across the, pen starting in the center draw a, straight line coming down towards the, bottom, now we go to the outside and curve out, and then down on top of the boot, do the same thing on the right i'm going, to add one more stripe, just follow that same curve leg coming, down towards the edge of the boot cuff, [Music], now we'll start over on the left side, we're going to fill this area in black, now we're going to skip this one and, fill the inside on the left, [Music], and then again we'll skip this area and, move over towards the right in the, center, [Music], now let's move up to the top and draw on, the arms we're going to start about, halfway along the side of the body from, the head towards the bottom of the, jacket so right here we're going to, curve out, and down towards the wrist we'll line up, on the right, and do the same thing, now back on the left side let's draw on, the thumb, draw a small half circle, at the end of the thumb we'll add a, bracket, let's do the same thing on the right, start with that small half circle, and then a bracket, now let's add in the fingers starting at, the bottom of the thumb and curve down, and up around that bracket we're gonna, add two more fingers so we'll step down, down, up the second finger, on the side here we curve out, round up the arm and then pull that in, underneath the head let's do the same, thing on the right, [Music], and the third finger would go all the, way around, and then in behind the head, for the inside of the wrist i'm going to, curve down, and then up towards the outside of the, arm, on both sides, now we're going to continue adding, stripes all the way up towards the top, of the arm i'm going to follow that same, curve, going across now we're going to continue, going all the way up, towards the top, of the arm, so we added one two three four five, extra lines we'll do the same thing on, the right, [Music], now let's fill the bottom area in black, then we're going to skip this area and, fill the second area in black, and then we'll continue up on this area, at the very top, let's do the exact same thing on the, right side, [Music], [Music], foreign, i'll just finish off this last area and, that's pretty much it there we have it, there's beetlejuice i hope you enjoyed, today's lesson make sure you subscribe, and send me your requests in the, comments below thanks for watching and, we'll see you again soon, [Music]
Reddit Images 38

Beetlejuice sketchcard, made with marker, colored pencil, and paint. 0

Beetlejuice sketchcard, made with marker, colored pencil, and paint. 1

Spiral Cuffs! Beetlejuice, lemon lime, and mint chocolate chip color theories 2

🔥 Found this Beetlejuice ass assassin bug, look at those colors! 3

The rough draft of a Beetlejuice movie poster I am making. Sorry for the rough picture, hard to get good light. I intend on coloring it, but I want to finalize it beforehand. Any more ideas for it? 4

Beetlejuice sketchcard, made with marker, colored pencil, and paint. 5

Beetlejuice sketchcard, made with marker, colored pencil, and paint. 6

Beetlejuice Tim Burton Coloring Page 7

I’ve been wanting to get a beetlejuice leg sleeve for a while now, no portraits though. One of my favorite scenes is when he is trying to tell lydia his name and he shows a carton of juice. I found an artist and he drew up something for me. My question is color or no color? 8
Just finished another page of the coloring book. Page 6… I believe 9
page coloring for ch 171. 10
Konomi coloring by @Shazayumart (chapter 93 cover page) 11

Beetlejuice, one of my heroes. Colored pencil drawing that will be a sticker. 12
![[No Spoilers] Digitally colored the cover page (not the actual cover of the book itself) of the Life Is Strange coloring book](https://i.redd.it/cdncsa6chuu91.jpg)
[No Spoilers] Digitally colored the cover page (not the actual cover of the book itself) of the Life Is Strange coloring book 13
![[Other] who is this villain on my son’s coloring page? It’s driving me nuts!](https://i.redd.it/ihia4i1szvi91.jpg)
[Other] who is this villain on my son’s coloring page? It’s driving me nuts! 14

First page of the coloring book done! Any thoughts? 15
Randomly coloring one page of my coloring book 16
{Artwork} Finally finished working on the coloring of this mask-less Spider-Gwen. It's about 98% pencils, with 2% of it in gel pen. It's a page from Marvel's WOMEN OF POWER coloring book, w/original art by Emanuela Lupacchino from Spider-Gwen Vol 2 #6 (Cover B Variant). 17
My coloring of the cover page for Ch. 159 18
,


Comments
Post a Comment